| Card Manufacturer | Wills |
| Year | 1913 |
| Series | First Aid |
| 2nd Series | |
| # Of Cards In Series | 50 |
| Card Size | T206 (Cigarette Card) 1 7⁄16 by 2 5⁄8 inches (3.7 cm × 6.7 cm) |
This vintage set by Wills Cigarettes is a true gem for collectors and enthusiasts alike. Renowned for their remarkable streak from 1910 through the early 1920s, Wills consistently delivered intriguing card sets that captivated the imagination. While these sets may not command high collectable value, they boast depictions of extraordinarily unique subjects and showcase fantastic artwork, making them a treasure trove for enthusiasts. The vivid blue hues and sharp lines of the cards’ artwork lend them an undeniable charm and appeal. It’s no wonder that this set has garnered praise from many collectors. Despite its acclaim, this particular set typically remains affordable, often not exceeding a modest price point in the low $20s.
There are 2 known versions of this set. Set “A” has no vertical text outside of the lined border. Set “B” has vertical text that reads “ALBUMS FOR THESE PICTURE CARDS CAN BE OBTAINED” on the left side of the card with “AT 1/- EACH FROM ALL TOBACCONIST” on the Right side on card. This set on display here is a mixture of both.
What do you think of this set of cards?
1
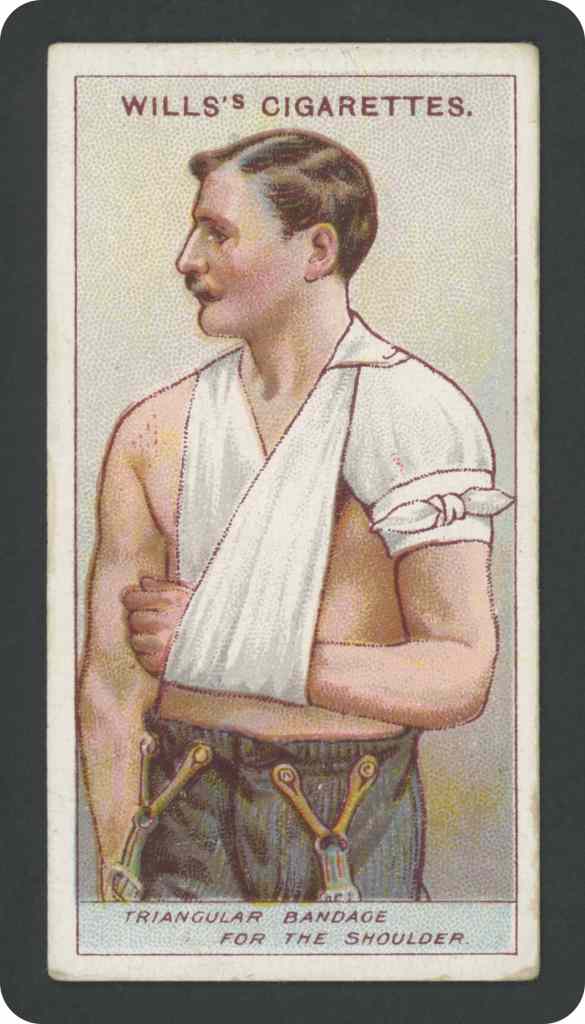
Triangular Bandage
The shoulder can be kept at rest, and an application retained as follows : Lay a triangular bandage, point upwards, over injured shoulder; turn in lower border of bandage; wrap ends round the arm, and tie in a reef-knot. Apply a second bandage as a narrow arm-sling; tie ends together on the first bandage just above collarbone of injured side. Bring point of first applied bandage, over the knot of the sling, and pin it in place.

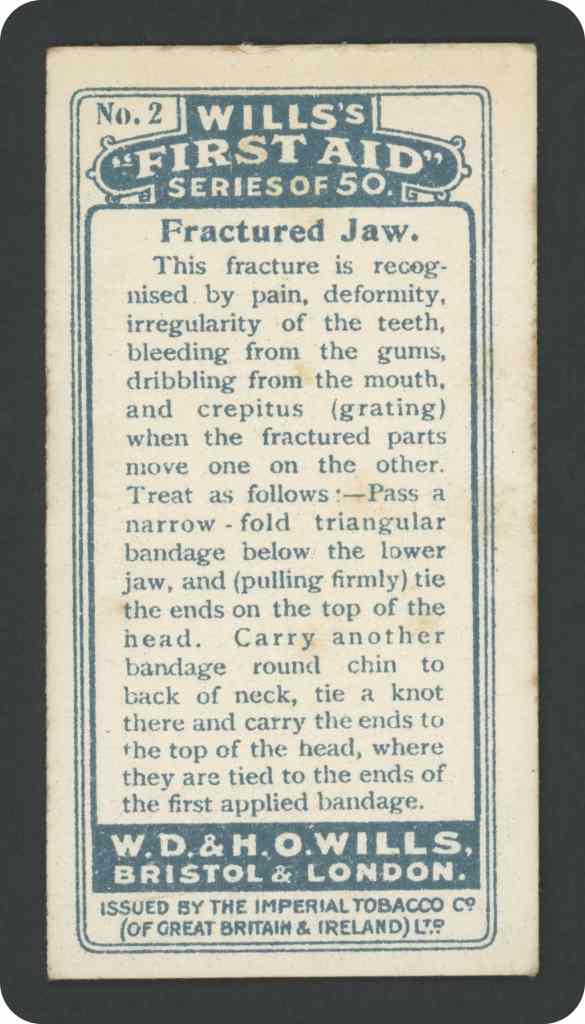
2
Fractured Jaw
This fracture is recog-nised. by pain, deformity, irregularity of the teeth, bleeding from the gums, dribbling from the mouth, and crepitus (grating) when the fractured parts move one on the other. Treat as follows:- Pass a narrow – fold triangular bandage below: the lower jaw, and (pulling firmly) tie the ends on the top of the head. Carry another bandage round chin to back of neck, tie a knot there and carry the ends to the top of the head, where they are tied to the ends of the first applied bandage.

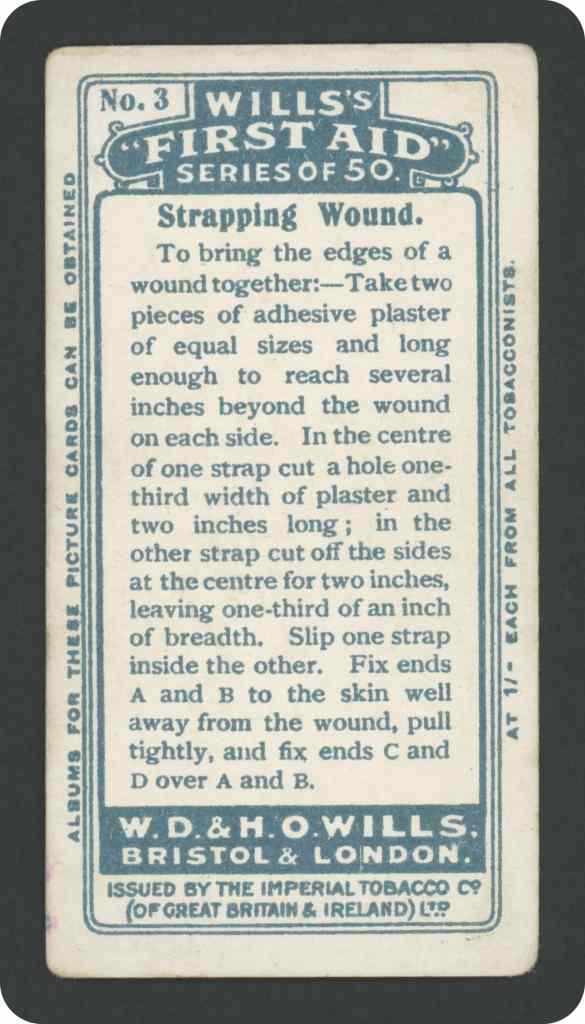
3
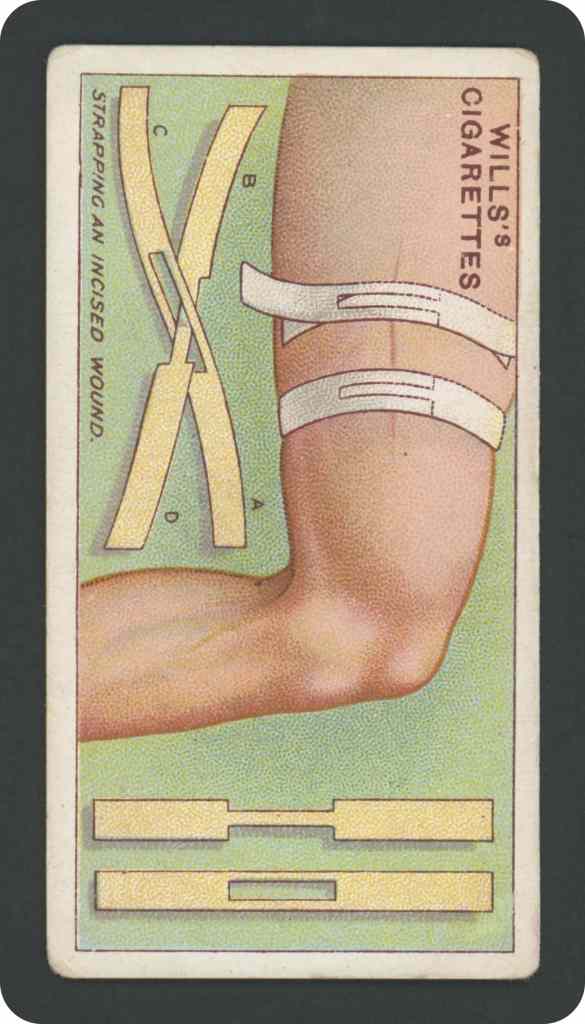
Strapping Wound
To bring the edges of a wound together: Taketwo pieces of adhesive plaster of equal sizes and long enough to reach several inches beyond the wound on each side. In the centre of one strap cut a hole one-third width of plaster and two inches long; in the other strap cut off the sides at the centre for two inches, leaving one-third of an inch of breadth. Slip one strap inside the other. Fix ends A and B to the skin well away from the wound, pull tightly, and fix ends C and D over A and B.
4
Compression Of Artery
When severe arterial bleeding occurs from a wound of the front of the forearm or wrist: Bare the limb and place a firm pad on the front of the elbow; band the elbow fully and firmly. Carry a bandage round the wrist, cross the ends, and after carrying them round the upper part of the arm close to shoulder tie securely. Cover the wound with a clean piece of linen. Tie the injured limb to the trunk by a bandage carried round the limb and chest.


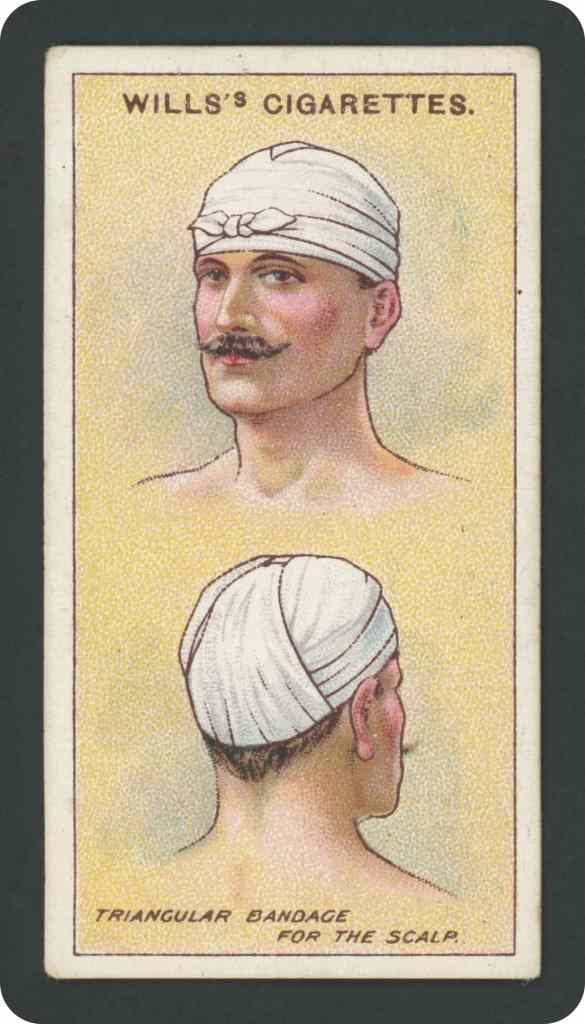
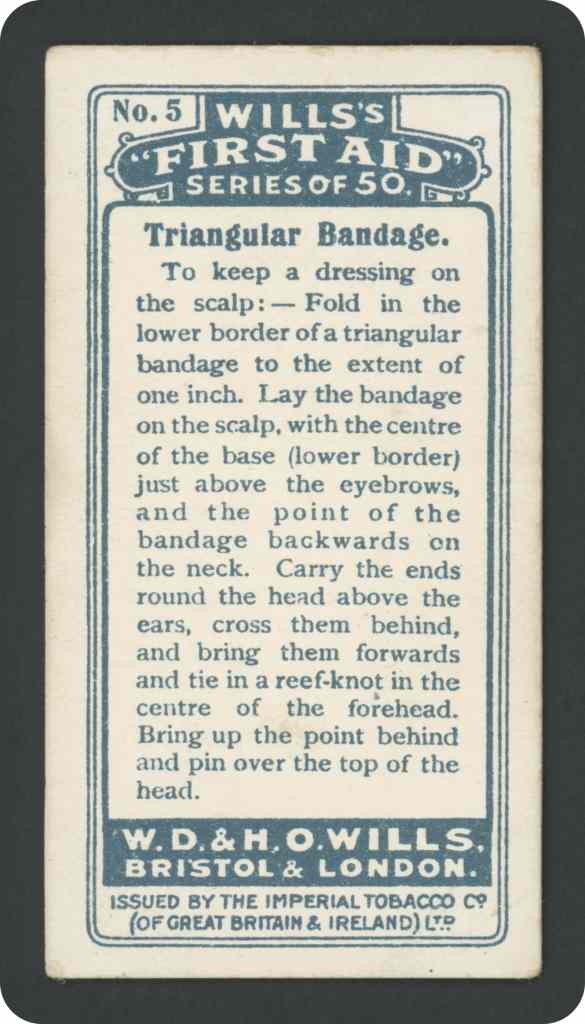
5
Triangular Bandage
To keep a dressing on the scalp:- Fold in the lower border of a triangular bandage to the extent of one inch. Lay the bandage on the scalp, with the centre of the base (lower border) just above the eyebrows, and the point of the bandage backwards on the neck. Carry the ends round the head above the ears, cross them behind, and bring them forwards and tie in a reef-knot in the centre of the forehead. Bring up the point behind and pin over the top of the head.
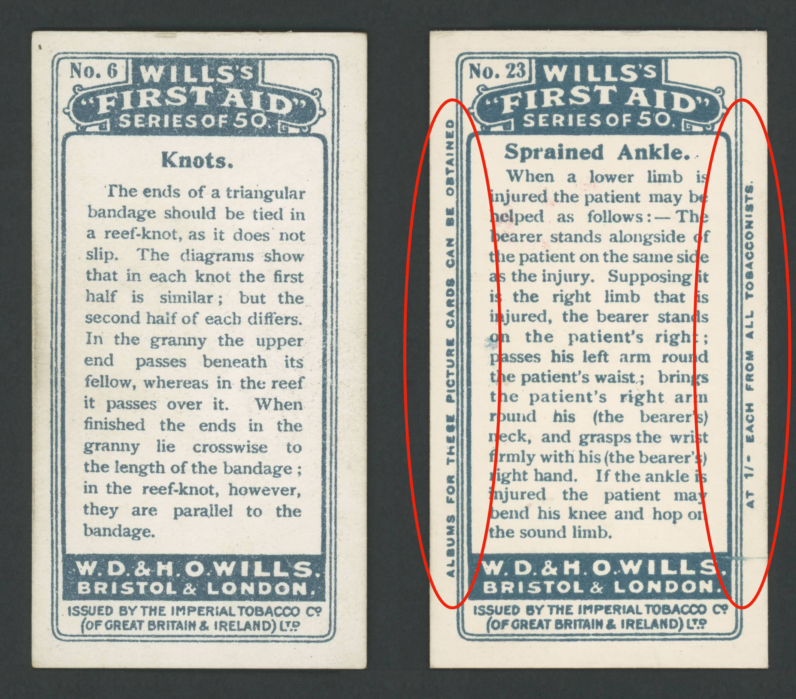
6
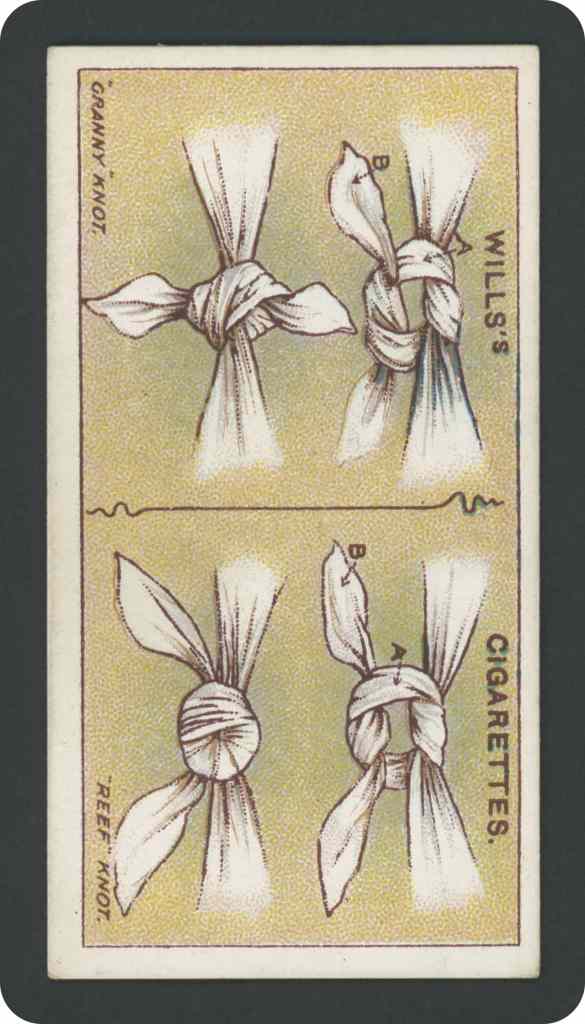
Knots
The ends of a triangular bandage should be tied in a reef-knot, as it does not slip. The diagrams show that in each knot the first half is similar; but the second haif of each differs. In the granny the upper end passes beneath its fellow, whereas in the reef it passes over it. When finished the ends in the granny lie crosswise to the length of the bandage; in the reef-knot, however, they are parallel to the bandage.
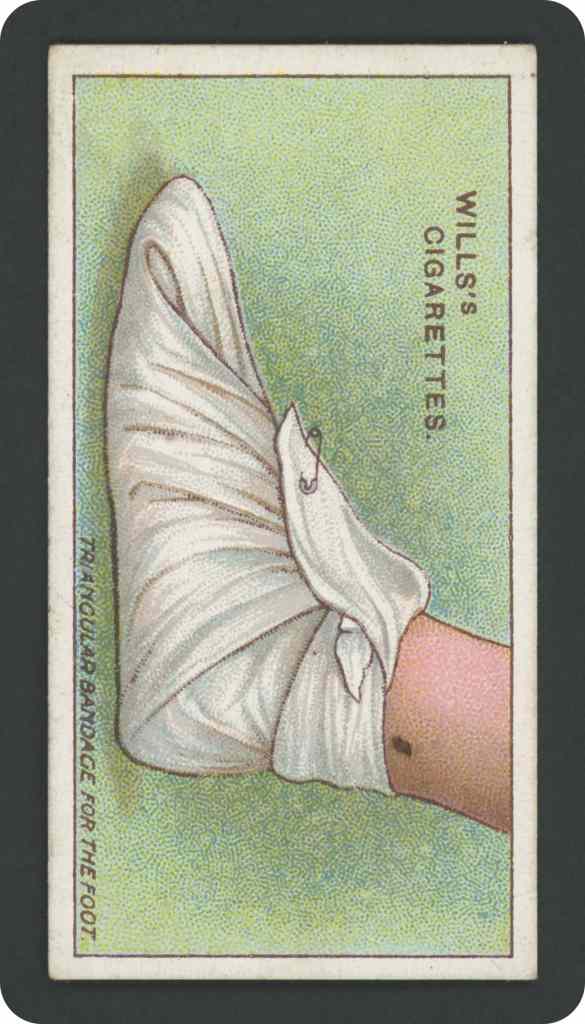
7
Triangular Bandage
A dressing applied to an injured, burned, or inflamed foot may be retained by a triangular bandage:- Spread the bandage out flat, the point away from the patient. Place the foot on the centre of the band- age, two inches from the base. Bring up the point to the front of the leg. Gather up the ends, cross them over the instep and carry them round the ankle and tie in front. Bring the point of the bandage over the knot and pin it in place.
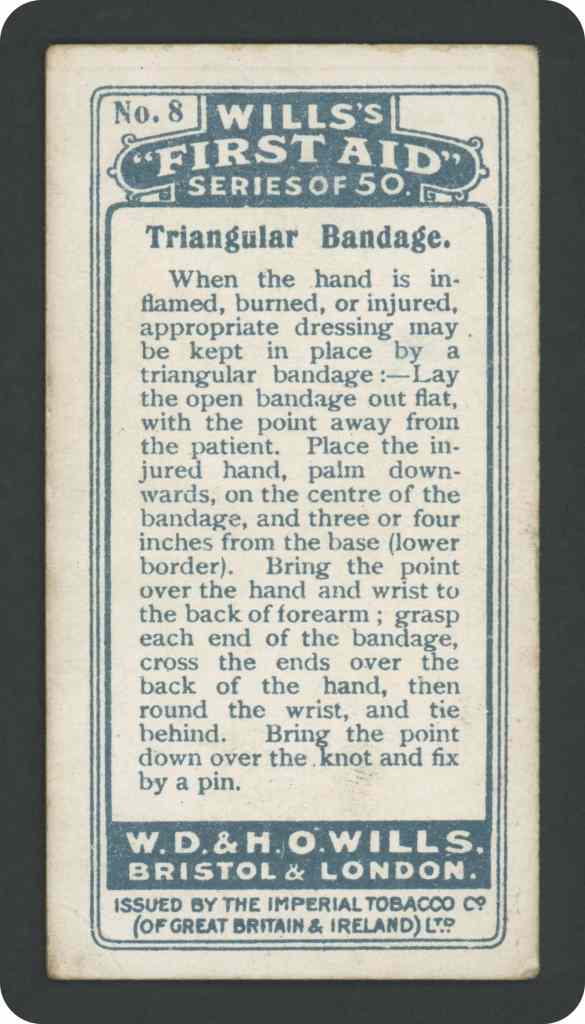
8
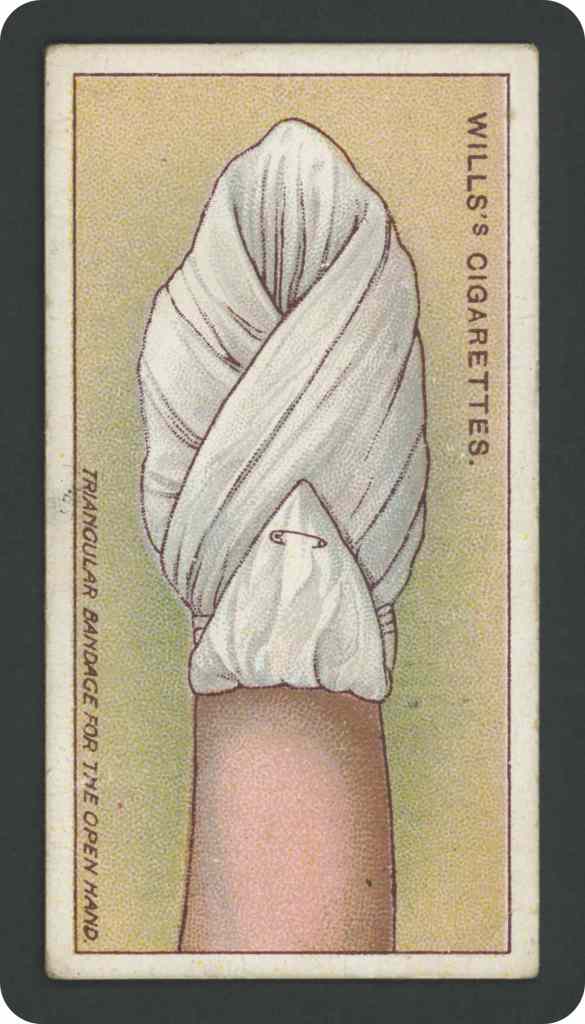
Triangular Bandage
When the hand is in-flamed, burned, or injured, appropriate dressing may. be kept in place by a triangular bandage: Lay the open bandage out flat, with the point away from the patient. Place the injured hand, palm down-wards, on the centre of the bandage, and three or four inches from the base (lower border). Bring the point over the hand and wrist to the back of forearm; grasp each end of the bandage, cross the ends over the back of the hand, then round the wrist, and tie behind. bewin dver Bhi knot a no it by a pin.
9
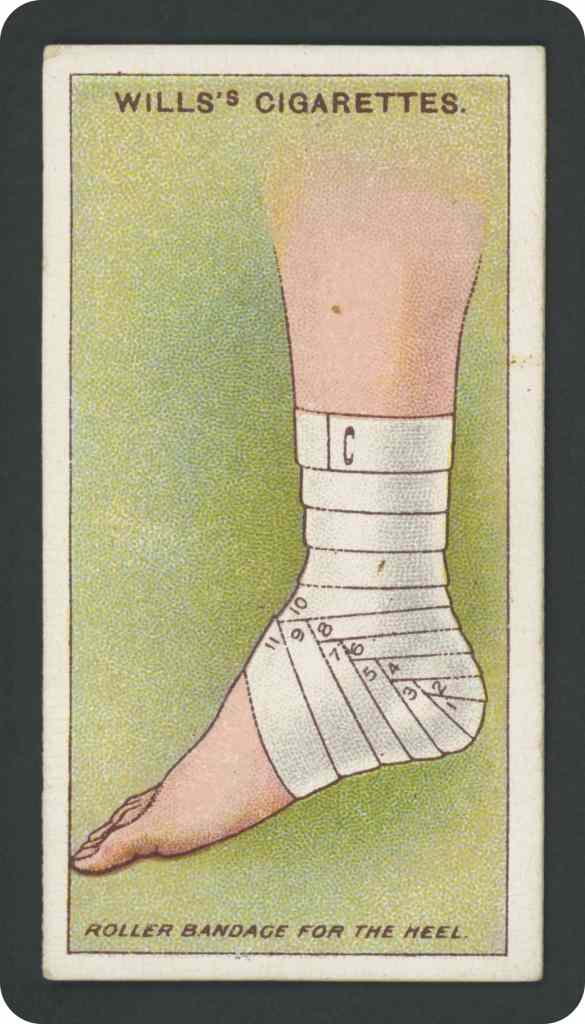
Roller Bandage
To cover the heel apply a roller bandage 3.5 inches wide and 3.5 yards long:-Begin by carrying the bandage over the tip of the heel, then round the ankle and close above heel. Again the bandage is brought over the ankle and round the foot close to the heel. Repeat five or six times going alternately above the heel and below the foot. Successive turns expose one-third of the previously applied. Finally take a few turns round the leg and pin off.

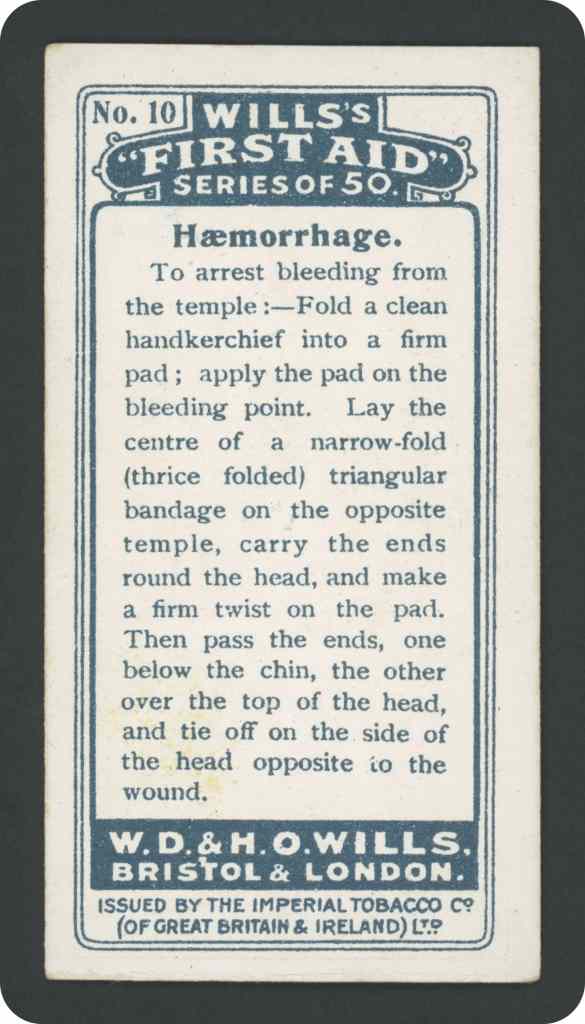
10
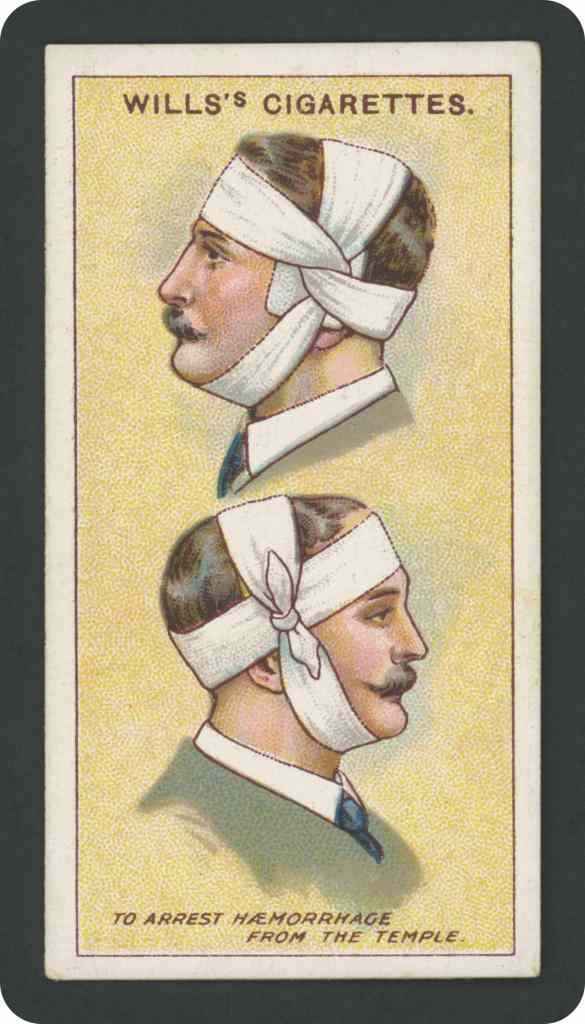
Haemorrhage
To arrest bleeding from the temple:-Fold a clean handkerchief into a firm pad; apply the pad on the bleeding point. Lay the centre of a narrow-fold (thrice folded) triangular bandage on the opposite temple, carry the ends round the head, and make a firm twist on the pad. Then pass the ends, one below the chin, the other over the top of the head, and tie off on the side of the head opposite to the wound.
11
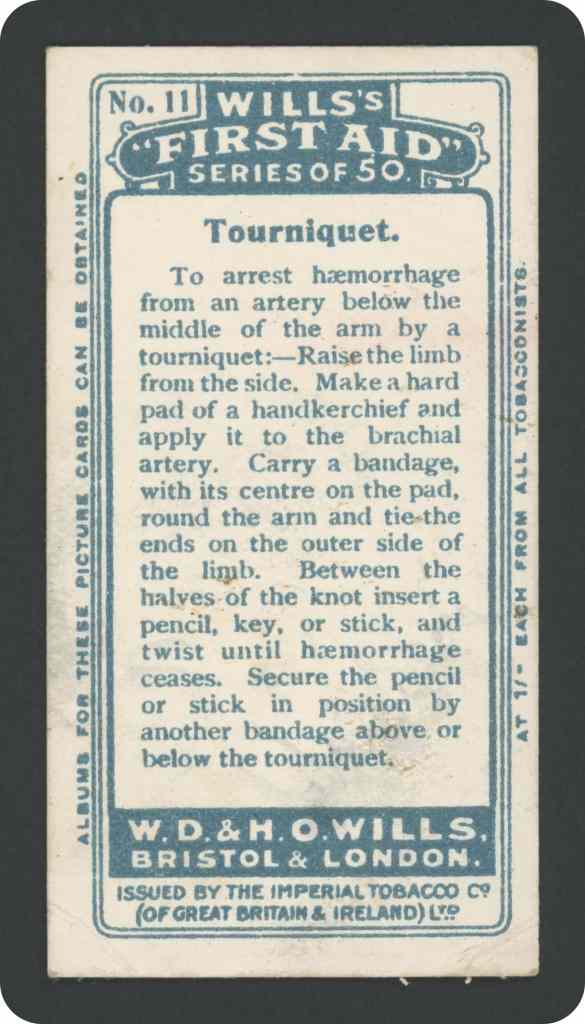
Tourniquet
To arrest hemorrhage from an artery below the middle of the arm by a tourniquet: Raise the limb from the side. Make a hard pad of a handkerchief and apply it to the brachial artery. Carry a bandage, with its centre on the pad, round the arm and tie the ends on the outer side of the limb. Between the halves of the knot insert a pencil, key, or stick, and twist until hemorrhage ceases. Secure the pencil or stick in position by another bandage above or below the tourniquet.
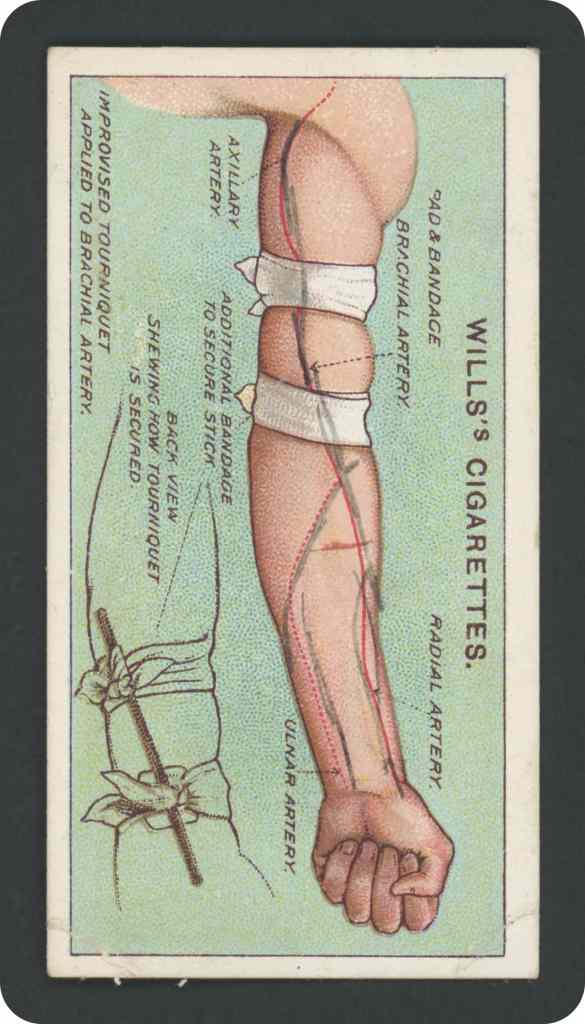
12
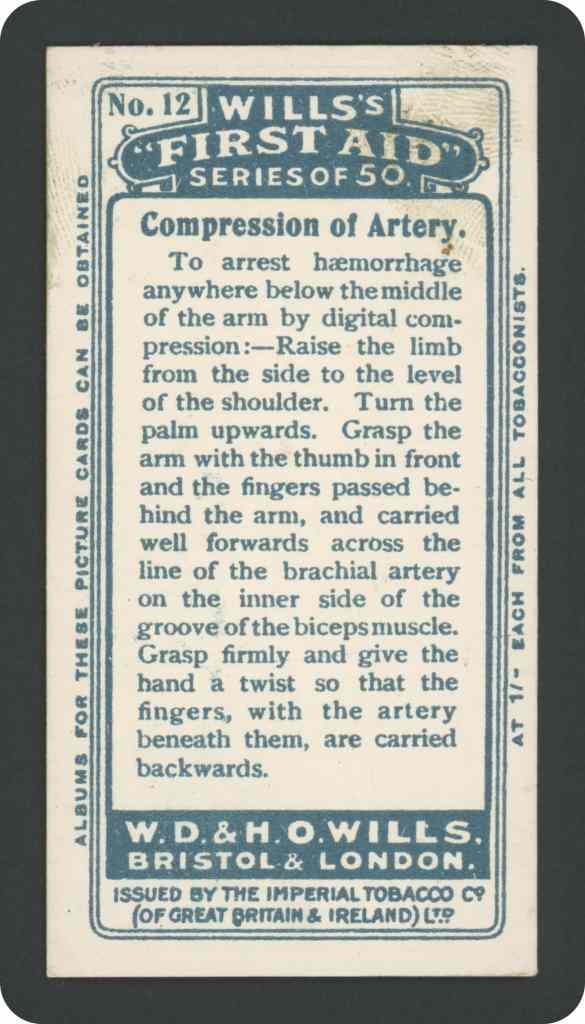
Compression Of Artery
To arrest hemorrhage anywhere below the middle of the arm by digital com• pression: Raise the limb from the side to the level of the shoulder. Turn the palm upwards. Grasp the arm with the thumb in front and the fingers passed behind the arm, and carried well forwards across the line of the brachial artery on the inner side of the groove of the bicepsmuscle. Grasp firmly and give the hand a twist so that the fingers, with the artery beneath them, are carried backwards.

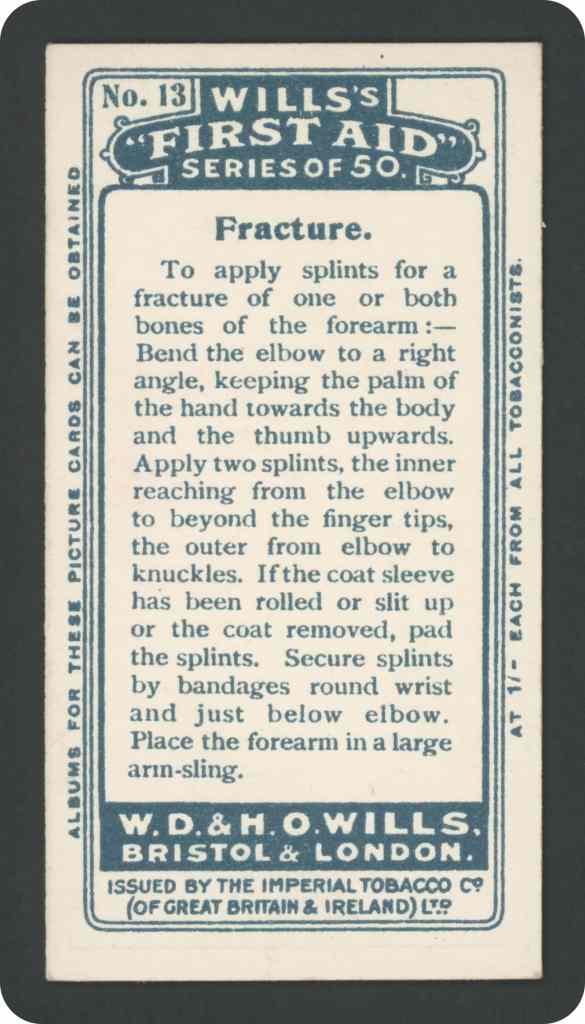
13
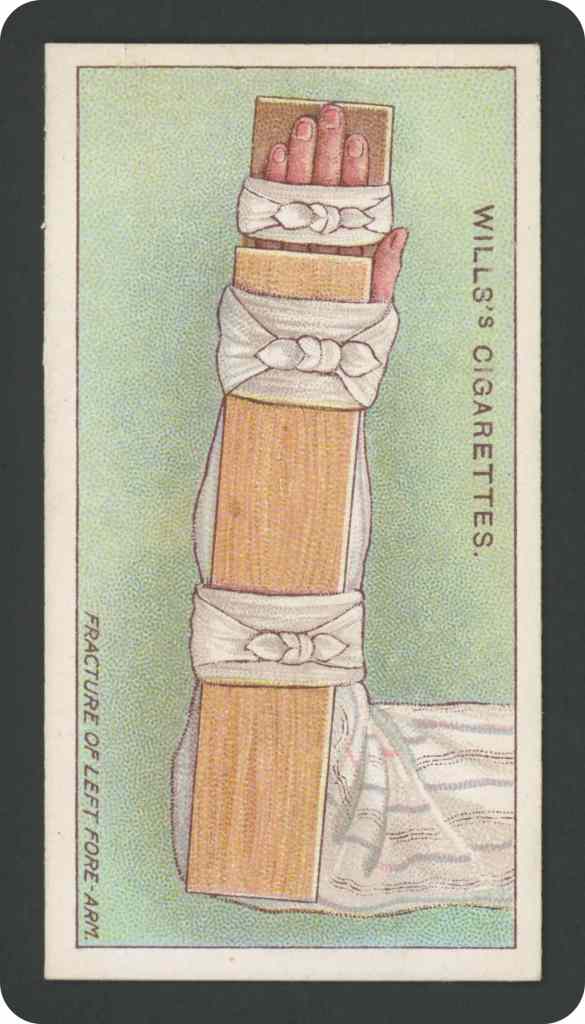
Fracture
To apply splints for a fracture of one or both bones of the forearm:-Bend the elbow to a right angle, keeping the palm of the hand towards the body and the thumb upwards. Apply two splints, the inner reaching from the elbow to beyond the finger tips, the outer from elbow to knuckles. Ifthe coat sleeve has been rolled or slit up or the coat removed, pad the splints. Secure splints by bandages round wrist and just below elbow. Place the forearm in a large arin-sling.
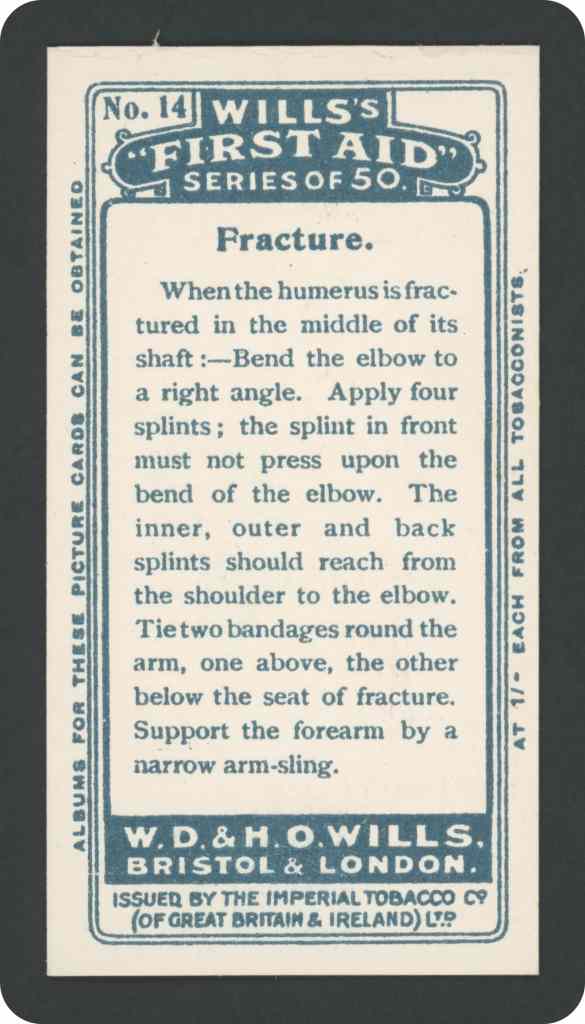
14
Fracture
When the humerus is fractured in the middle of its shaft: Bend the elbow to a right angle. Apply four splints; the splint in front must not press upon the bend of the elbow. The inner, outer and back splints should reach from the shoulder to the elbow. Tie two bandages round the arm, one above, the other below the seat of fracture. Support the forearm by a narrow arm-sling.

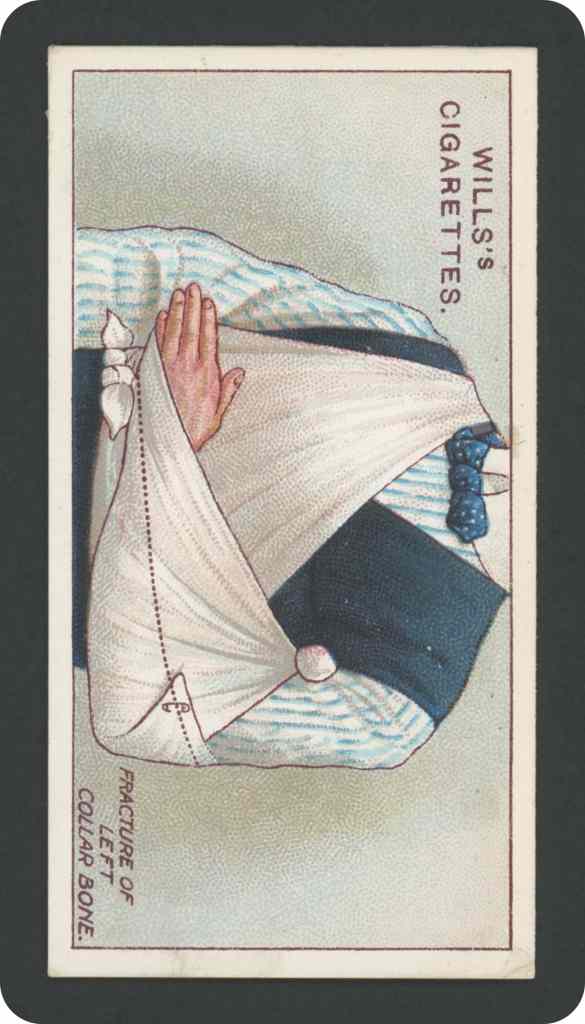
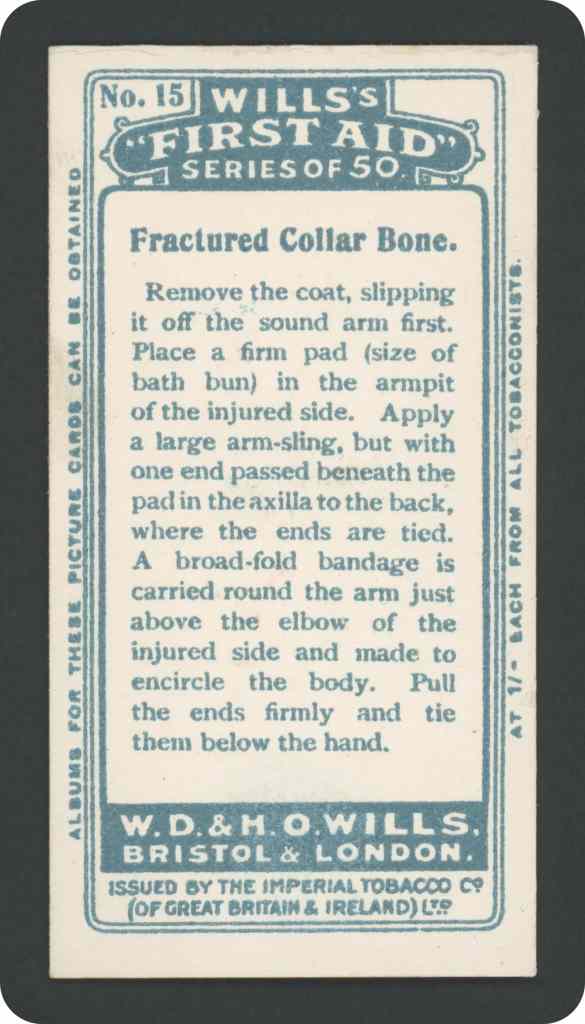
15
Fractured Collar Bone
Remove the coat, slipping it off the sound arm first. Place a firm pad (size of bath bun) in the armpit of the injured side. Apply a large arm-sling, but with one end passed beneath the pad in the axilla to the back, where the ends are tied. A broad-fold bandage is carried round the arm just above the elbow of the injured side and made to encircle the body. Pull the ends firmly and tie them below the hand.
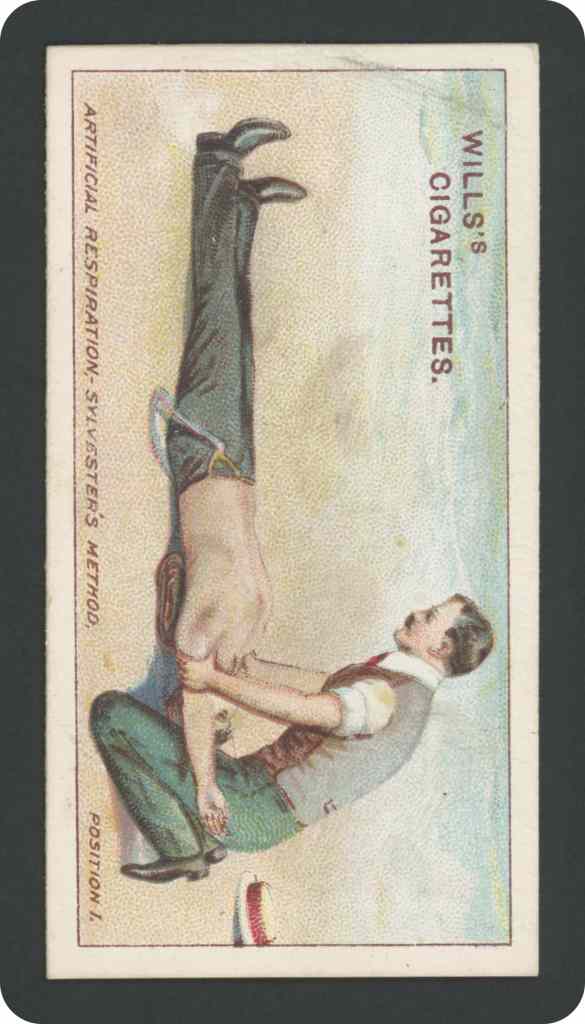
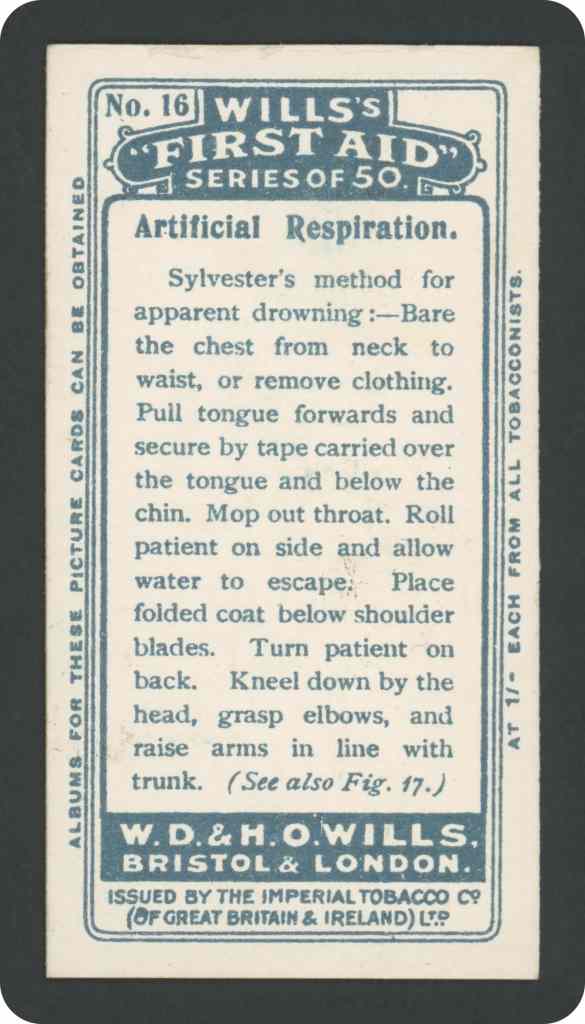
16
Artificial Respiration
Sylvester’s method for apparent drowning :- Bare the chest from neck to waist, or remove clothing. Pull tongue forwards and secure by tape carried over the tongue and below the chin. Mop out throat. Roll patient on side and allow water to escape; Place folded coat below shoulder blades. Turn patient onback. Kneel down by the head, grasp elbows, and raise arms in line with trunk. (See also Fig. 17.)
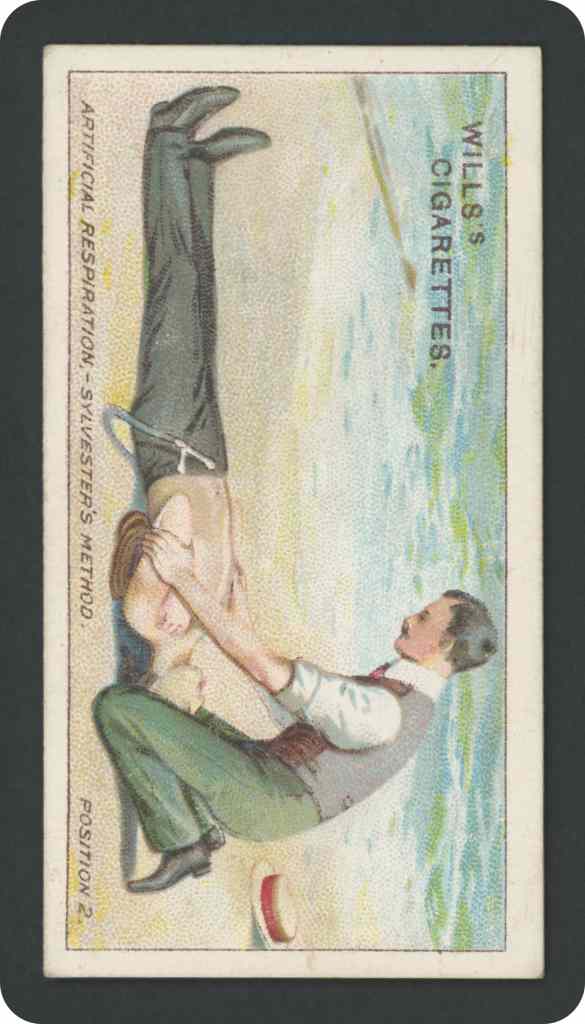
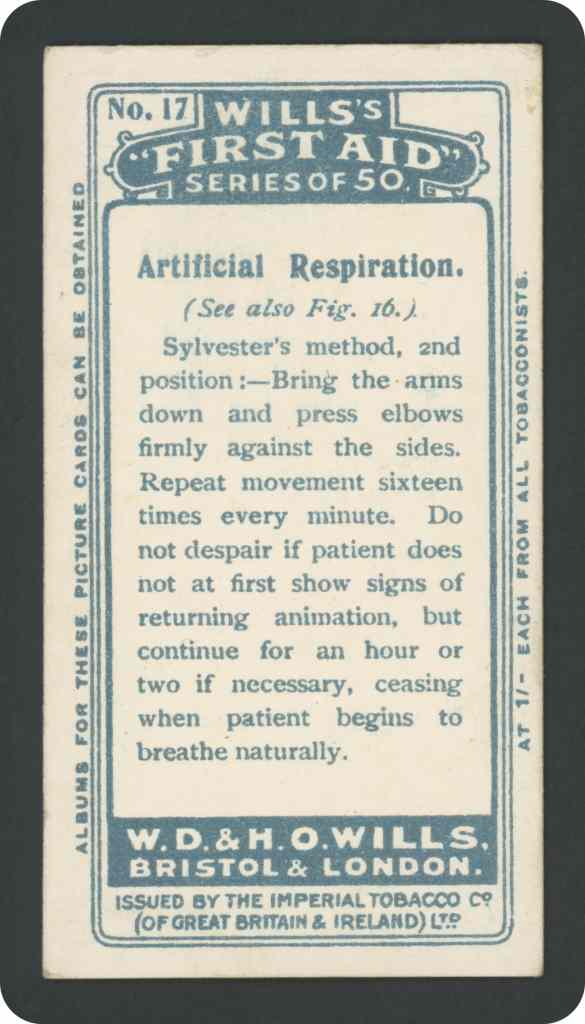
17
Artificial Respiration
(See also Fig. 16.). Sylvester’s method, and position :-Bring the arms down and press elbows firmly against the sides. Repeat movement sixteen times every minute. Do not despair if patient does not at first show signs of returning animation, but continue for an hour or two if necessary, ceasing when patient begins to breathe naturally.
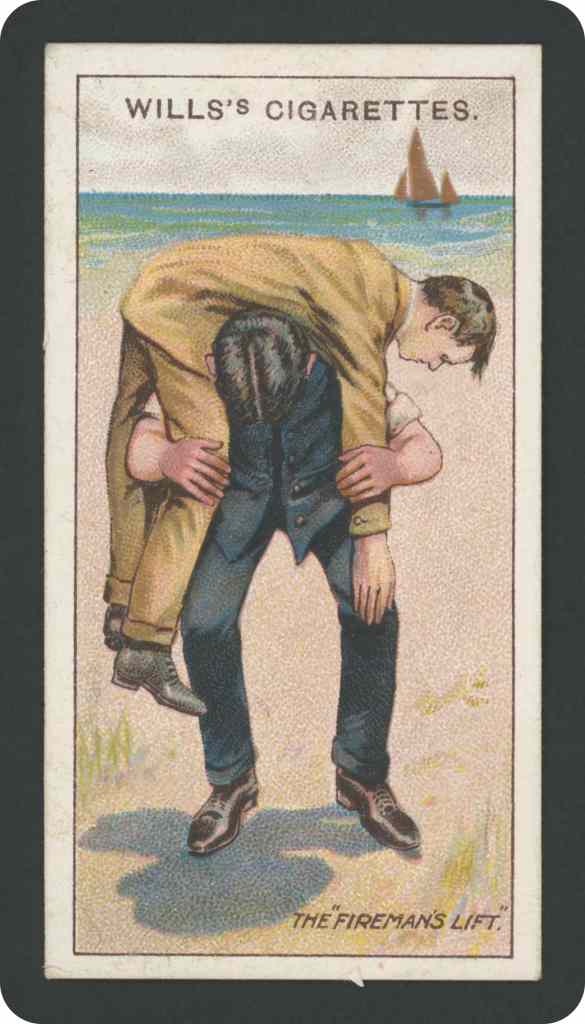
18
The Fireman’s Lift
No. 1. Turn the insensible person on. his face. Kneeling close to his head, pass hands beneath his armpits from the front. Pull patient up towards you, resting him on your knee. Lock hands round waist, stand up, lifting patient upright. Seizing one of his wrists, stoop, and pass free arm between his legs. He will then fall across the shoulders. (See also Fig. 19.)
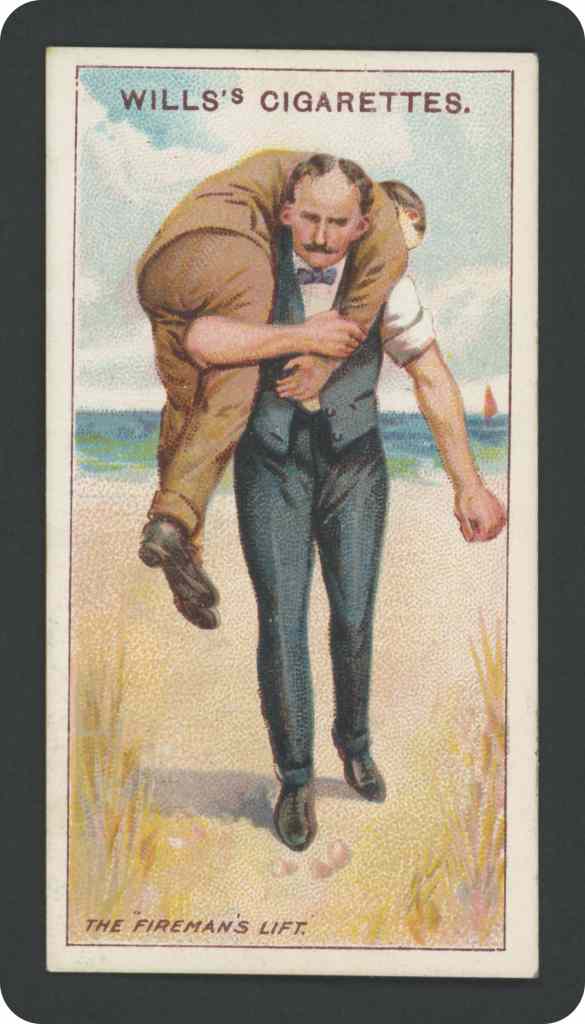
19
The Fireman’s Lift
(See also Fig. 18.) Having regained the erect position, the body should be balanced well on both shoulders. The patient’s wrist should now be tightly grasped with the hand that passed between his thighs. The bearer now has one arm free, to enable the helper to grasp a support or ladder during descent.

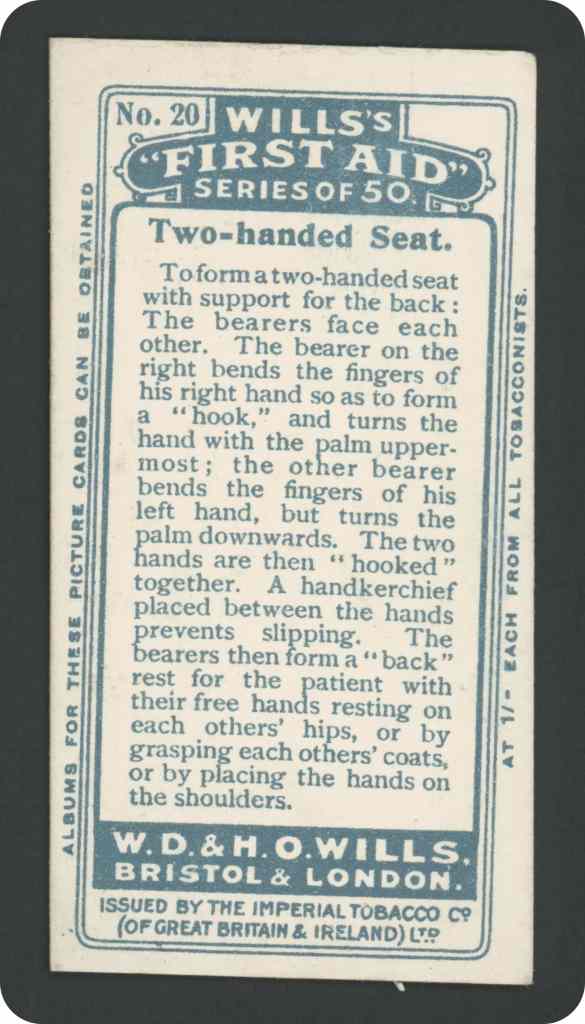
20
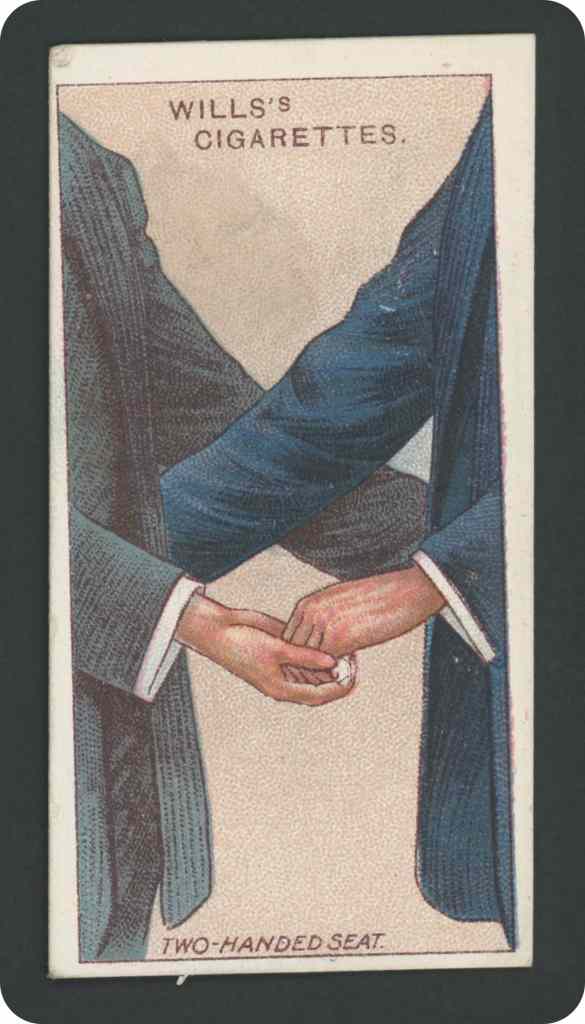
Two-Handed Seat
To form a two-handed seat with support for the back: The bearers face each other. The bearer on the right bends the fingers of his right hand so as to form a “hook,” and turns the hand with the palm upper- most; the other bearer bends the fingers of his left hand, but turns the palm downwards. The two hands are then “hooked ” together. A handkerchief placed between the hands prevents slipping. The bearers then form a “back” rest for the patient with their free hands resting on each others’ hips, or by grasping each others’ coats, or by placing the hands on the shoulders.
21
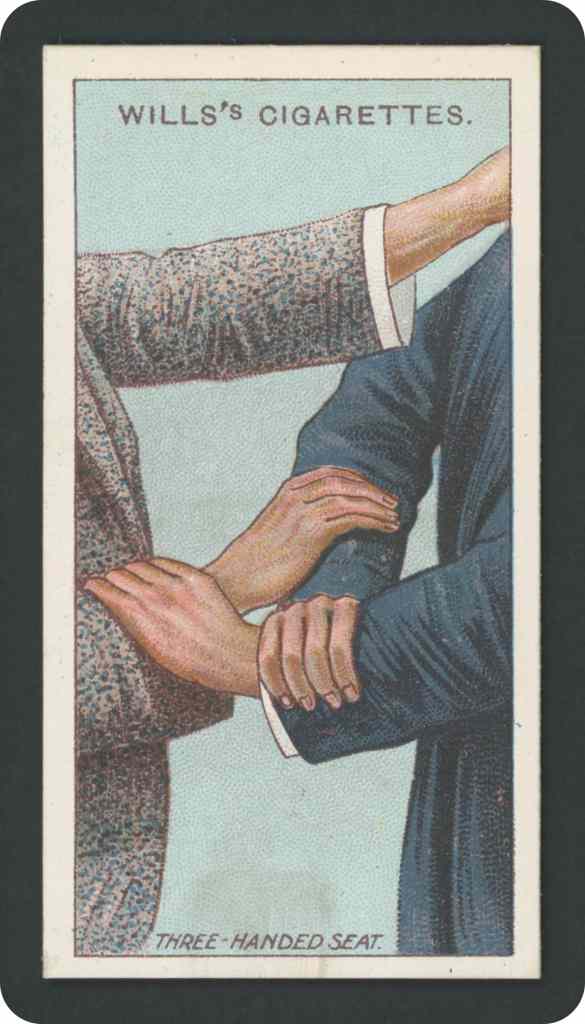
Three-Handed Seat
The bearers face each other. The left bearer grasps his own left wrist with his right hand. The right bearer seizes the left bearer’s right wrist with his right hand; and the left bearer grasps the opposite bearer’s right wrist with his left hand. The right bearer then places his free hand on the left bearer’s shoulder.

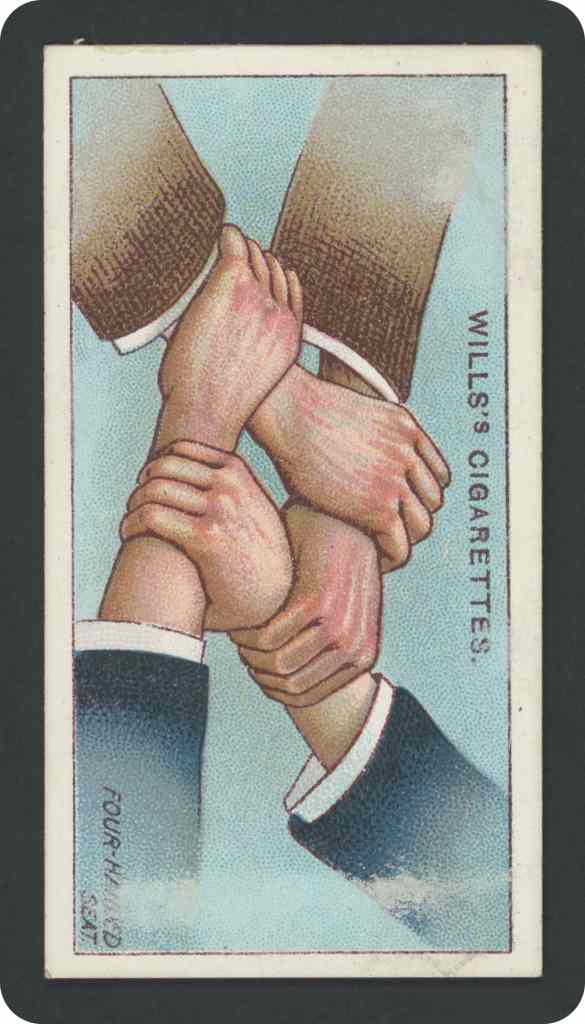
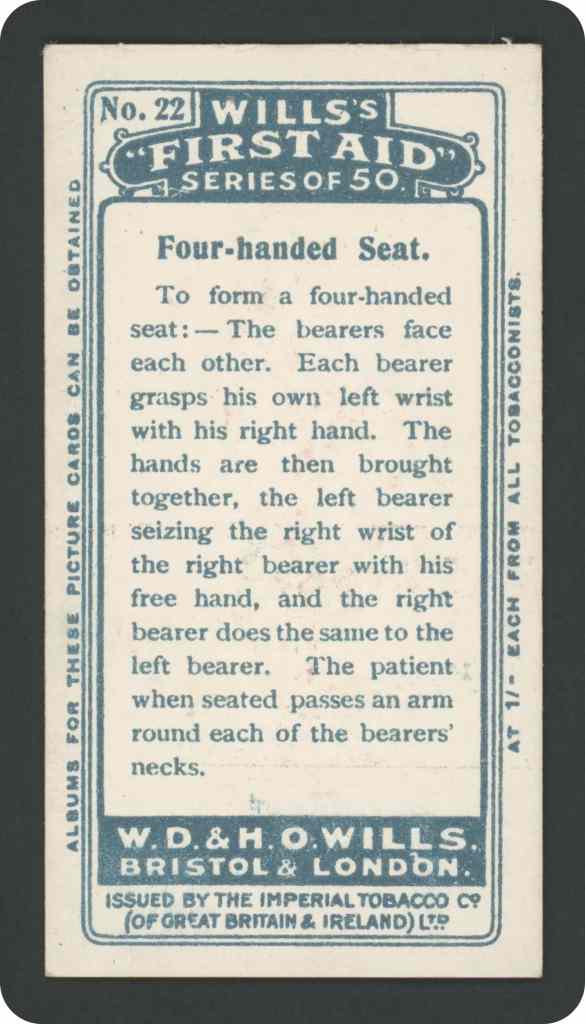
22
Four-Handed Seat
To form a four-handed seat: – The bearers face each other. Each bearer grasps his own left wrist with his right hand. The hands are then brought together, the left bearer seizing the right wrist of the right bearer with his free hand, and the right bearer does the same to the left bearer. The patient when seated passes an arm round each of the bearers’ necks.
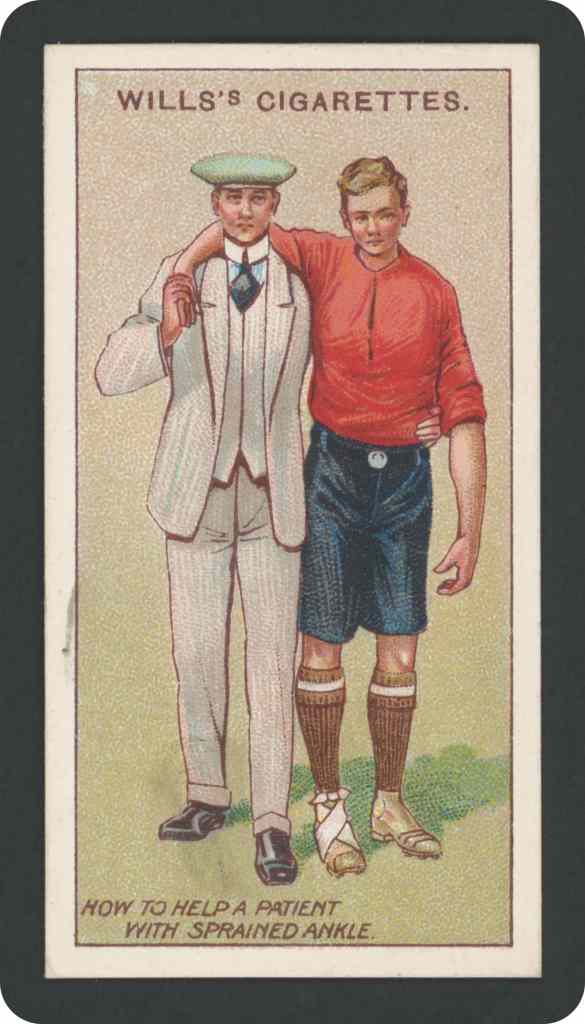
23
Sprained Ankle
When a lower limb is injured the patient may be helped, as follows: – The bearer stands alongside of the patient on the sane side as the injury. Supposing it is the right limb that is injured, the bearer stands on the patient’s right; passes his left arm round the patient’s waist; brings the patient’s right arm round his (the bearer’s) neck, and grasps the wrist firmly with his (the bearer’s) right hand. If the ankle is injured the patient may bend his knee and hop on the sound limb.
24
Patient On Stretcher
To place a patient on a stretcher when three bearers areavailable: One (front) bearer stands with his feet one on either side of the patient’s waist, stoops, places left hand behind patient’s right shoulder, and his right hand behind patient’s waist. The other (rear) bearer passes his left hand beneath patient’s thighs, and right hand beneath the legs. The bearers raise the patient, and the third man pushes the stretcher beneath the patient and between bearers’ feet.

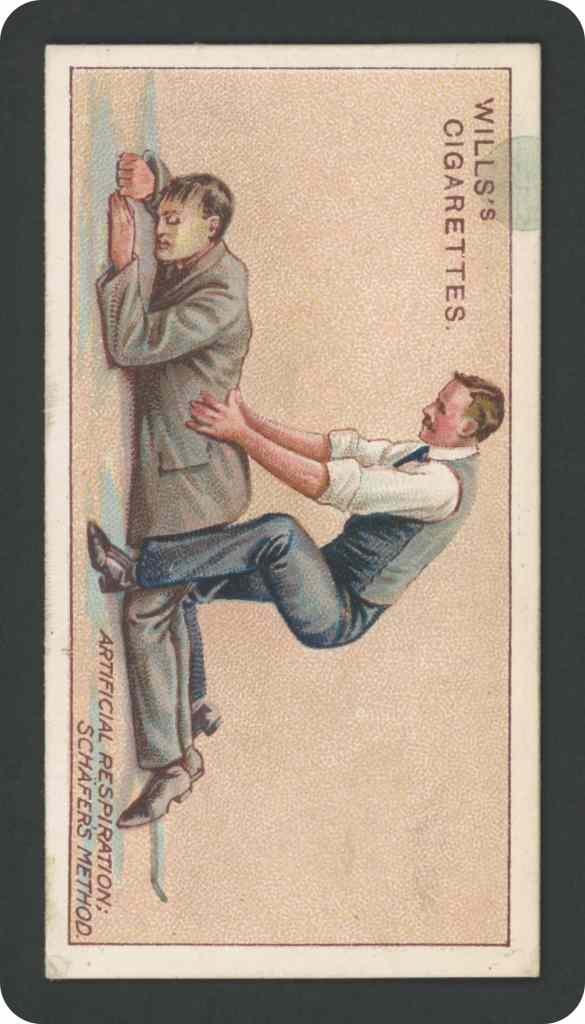
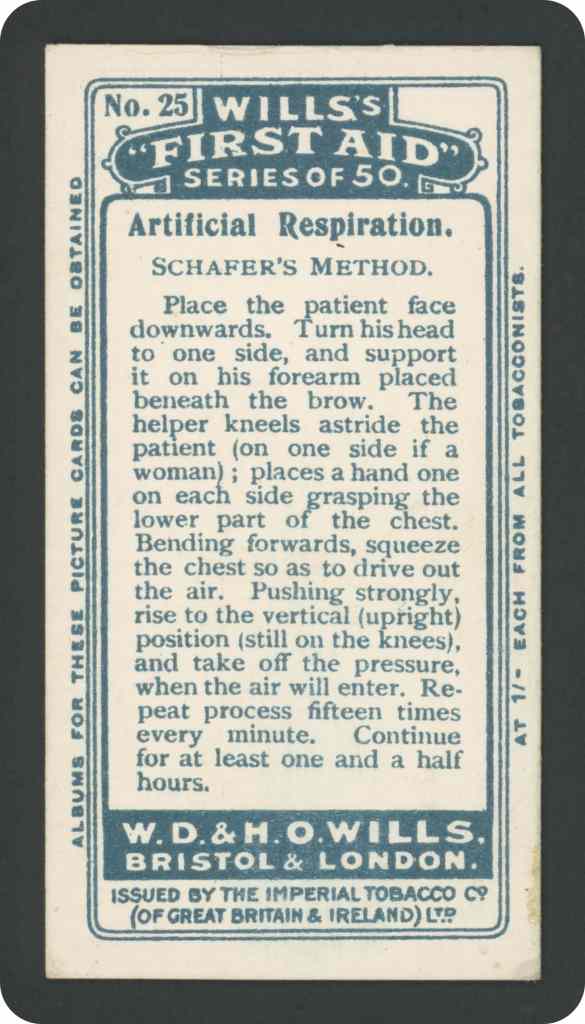
25
Artificial Respiration
SCHAFER’S METHOD. Place the patient face downwards. Turn his head to one side, and support it on his forearm placed beneath the brow. The helper kneels astride the patient (on one side if a woman); places a hand one on each side grasping the lower, part of the chest. Bending forwards, squeeze the chest so as to drive out the air. Pushing strongly, rise to the vertical (upright) position (still on the knees), and take off the pressure, when the air will enter. Repeat process fifteen times every minute. Continue for at least one and a half hours.
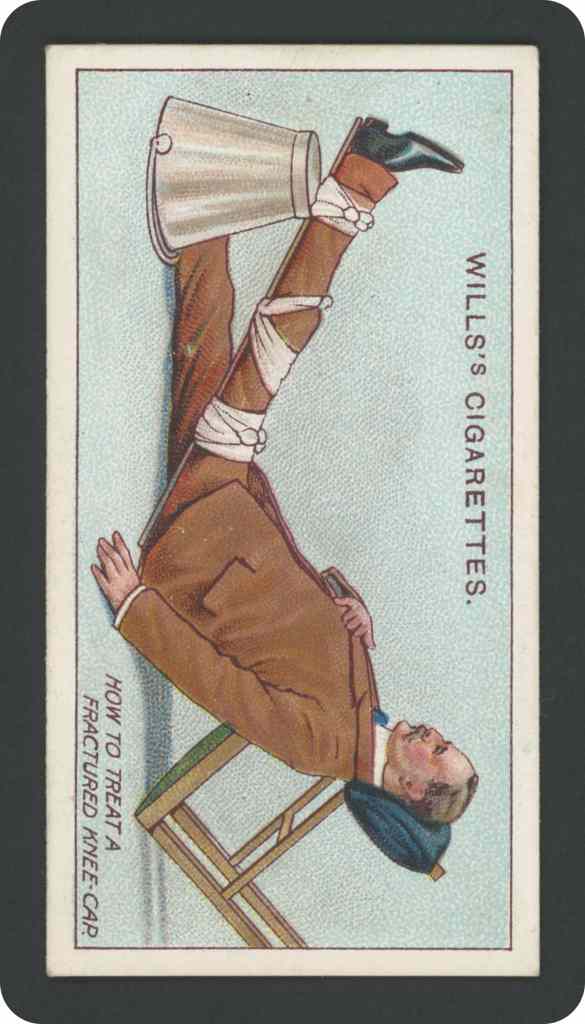
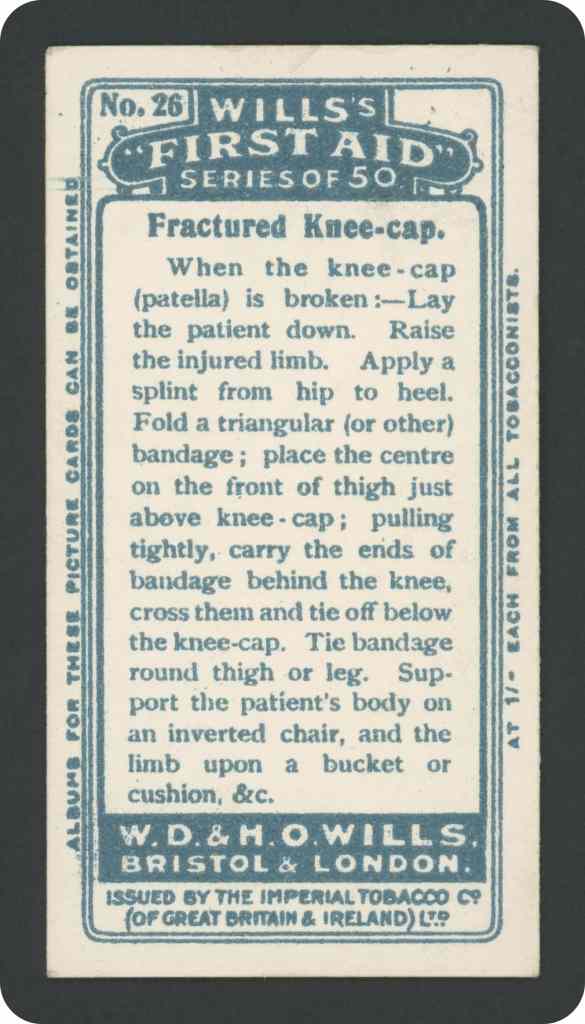
26
Fractured Knee-Cap
When the knee-cap (patella) is broken: Lay the patient down. Raise the injured limb. Apply a splint from hip to heel. Fold a triangular (or other) bandage; place the centre on the front of thigh just above knee – cap; pulling tightly, carry the ends of bandage behind the knee, cross them and tie off below the knee- cap. Tie bandage round thigh or leg. Support the patient’s body on an inverted chair, and the limb upon a bucket or cushion, 82c.
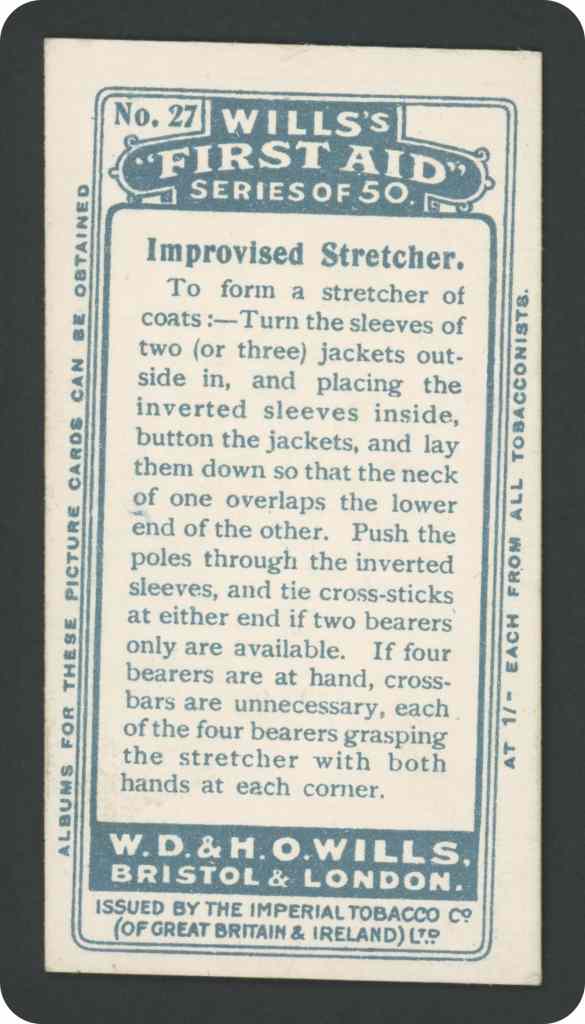
27
Improvised Stretcher
To form a stretcher of coats:-Turn the sleeves of two (or three) jackets out. side in, and placing the inverted sleeves inside, button the jackets, and lay them down so that the neck of one overlaps the lower end of the other. Push the poles through the inverted sleeves, and tie cross-sticks at either end if two bearers only are available. If four bearers are at hand, crossbars are unnecessary, each of the four bearers grasping the stretcher with both hands at each corner.

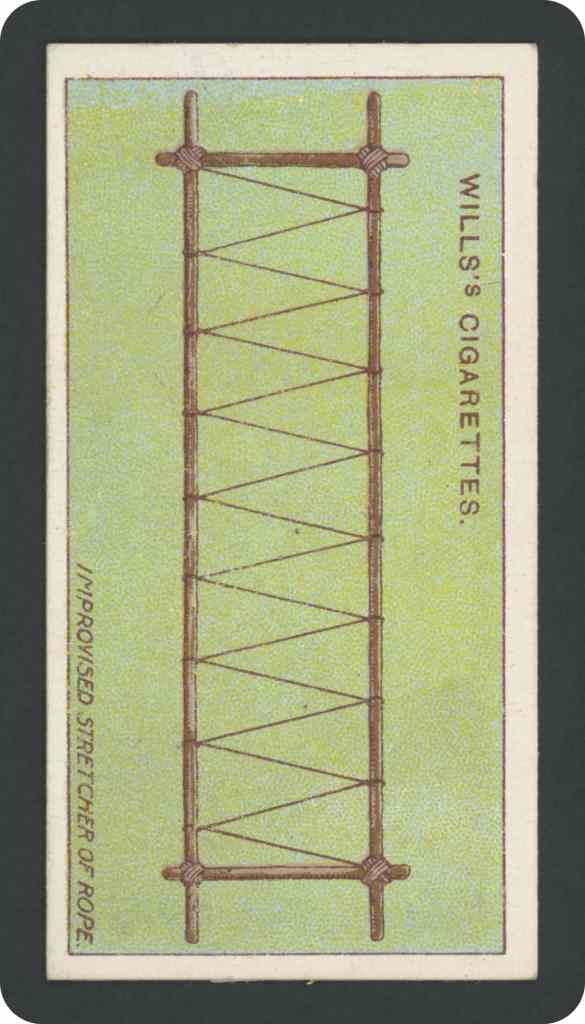
28
Improvised Stretcher
To form a stretcher of poles and a rope:- Take two poles (clothes poles or pitchfork handles, &c.) about 6 to 7 feet long. Lay them parallel to each other 2 to 24 feet apart. Place sticks (walking sticks, or umbrellas, &c.) four inches from either end across the poles, tying the sticks and poles firmly together with stout twine. Tie a rope at one corner, and carry the rope from side to side eight or nine times round the stretcher, tying off at the corner opposite to that at which it was commenced.
29
Foreign Body In Ear
When a foreign body (dust, insect, &c.) enters the eye:- -(A) Upper lid: Grasp skin between finger and thumb; raise lid off eyeball; push lower lid beneath upper; let go lid. Repeat frequently if neces-sary. If not relieved, or if piece of steel is embedded in eye, drop castor oil in eye and cover up. Lid may be everted by laying a match or knitting needle above it, seizing eyelashes, and pulling up’ the lid over the match, when it is turned inside out. (B) Lower lid: Puil lid down, wet corner of handkerchief and remove particle.

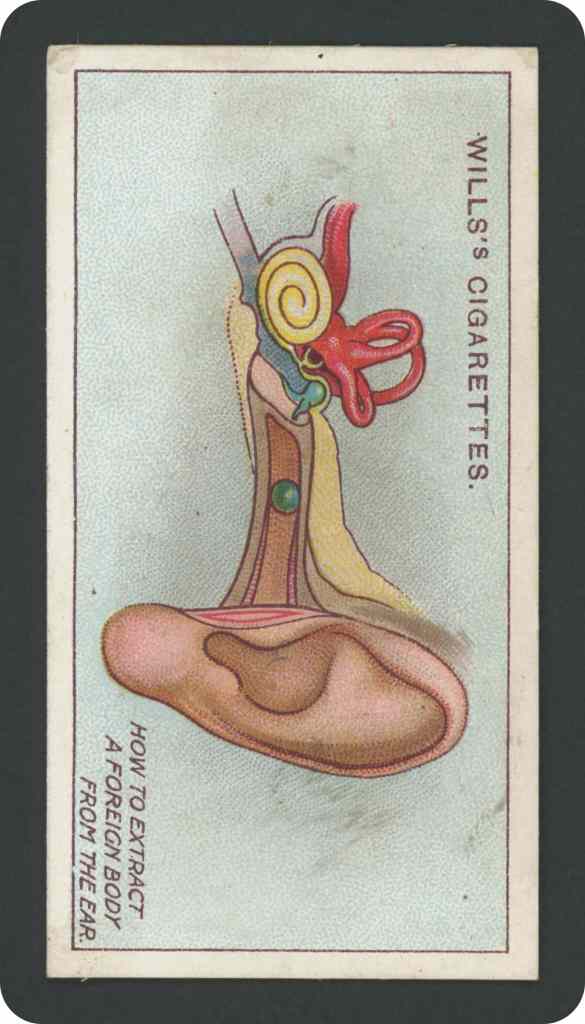
30
Foreign Body In Ear
(A) An insect in the ear can be floated out by pouring olive oil from a spoon into the ear passage. (B) A pin passed into ear passage nay slip from the grasp. Remove by seizing the projecting part of the pin by forceps (pincers, sugar tongs, &c.). (C) Piece of slate percil if pushed deeply in must be dealt with by a doctor. (D) A bead or pea in the ear must be left. to doctor to remove. Prevent bystanders interfering, and tie a child’s hands to prevent it putting fingers in the ear.
31
Bleeding From The Nose
To arrest bleeding from the nose the patient should sit down with his head slightly thrown back. A cold wet sponge should then be applied to the root of nose, or the nape of the neck. Loosen all clothing about the neck and chest, and hold the arms high above the head. Powdered galls, or a little vinegar and water sniffed into the nos-trils, may be used to arrest the hemorrhage. In severe cases the nostrils must be plugged with cotton wool dipped in hazeline.

32
Burns On Face
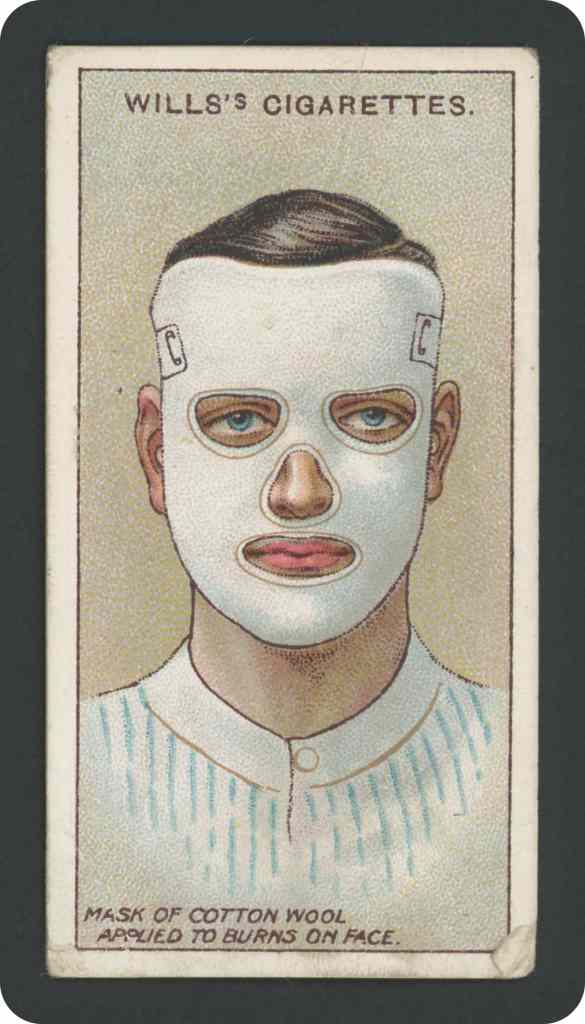
When the face is scalded or burned by flames or strong acid:- Cut two pieces of lint or linen to shape of face, making holes for eyes, nose, and mouth. Between layers of lint or linen place cotton wool two inches thick, making holes in wool for eyes, nose, and mouth. Smear the burned surface with oil, vaseline, boric, or other ointment. A mask is thus made which is fixed in place by strips of bandage or tape sewn or pinned to the sides of the mask and fastened behind head.
33
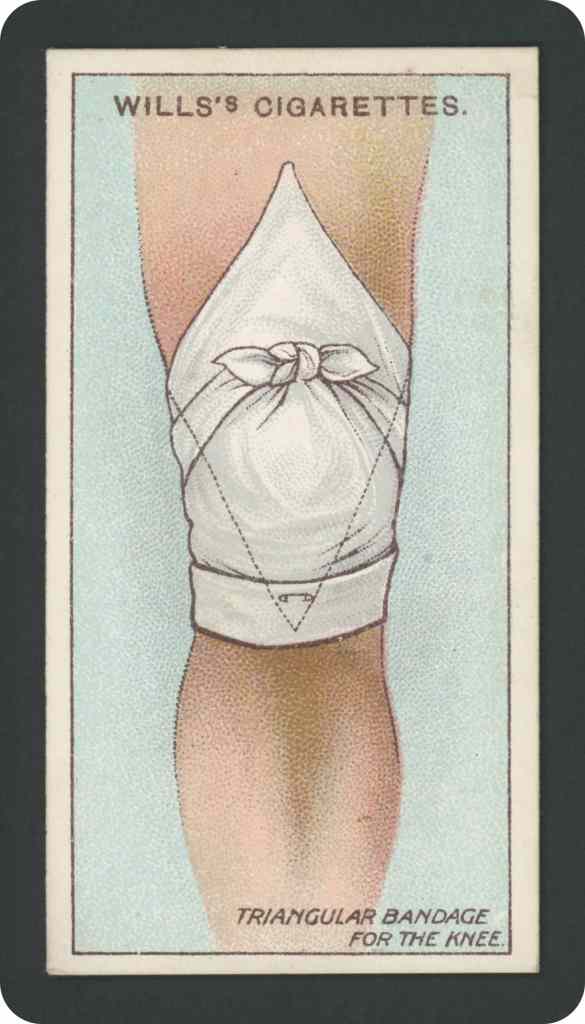
Triangular Bandage For The Knee
To keep a dressing on the knee:- Turn in the lower edge of a triangular bandage, and lay the bandage with its lower border below the knee-cap and the point (apex) upwards on the lower part of the thigh. Carry the ends round the back of the knee, then bring them forwards and tie above the knee-cap; bring the point down over the knot, and pin.

34
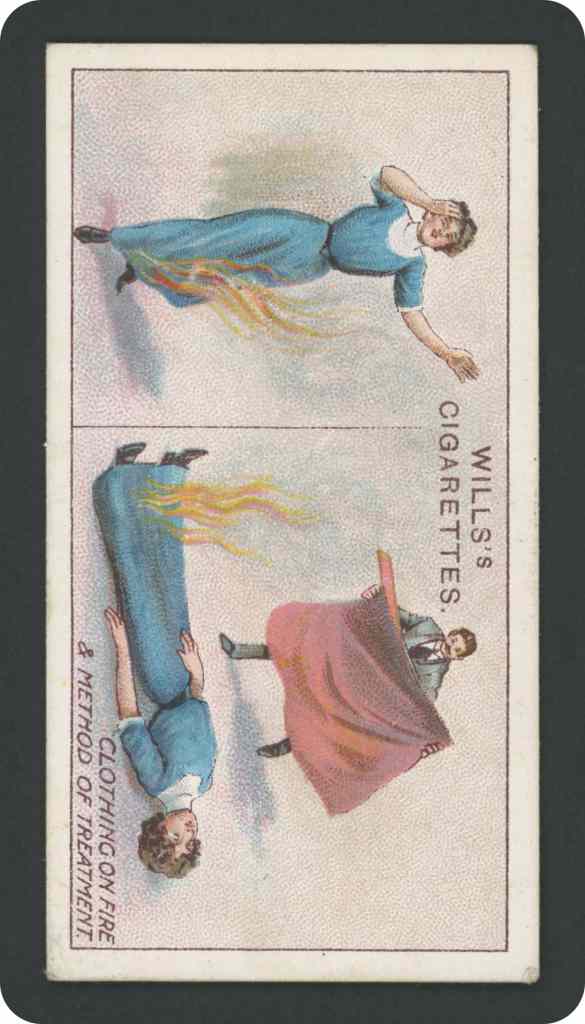
Clothing On Fire
When a woman’s dress (skirt) catches fire the bystander should immediately lay (throw) her down on the floor – flames upper-most. If it is the front of dress that is burning lay her down on her back. In this position the flames ascend away from the limbs, which thus escape injury. Throw a mat, table. cloth, coat, or blanket over the burning part so as to smother the flames. Dress the burned surface of the skin with oil, vaseline, boric or other ointment.
35
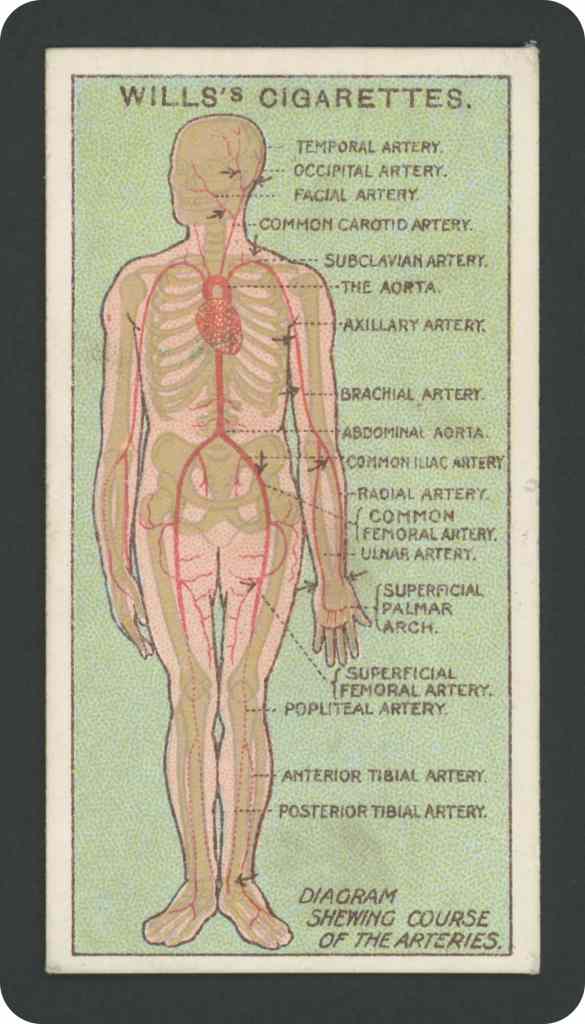
Course Of Arteries
The heart lies behind the breast bone and extends to right and left of that bone, but chiefly to the left. From the upper end (base) of the heart the aorta is given off, which forms an arch giving off arteries to the head and neck and upper limbs, and then passes down in front of the left side of spine through chest and abdomen, where it divides just below navel into two (iliac) ar. teries. These pass over the frots to who one diligrass show where pressure may be applied to arrest arterial bleeding from any point beyond them.

36
Triangular Bandage
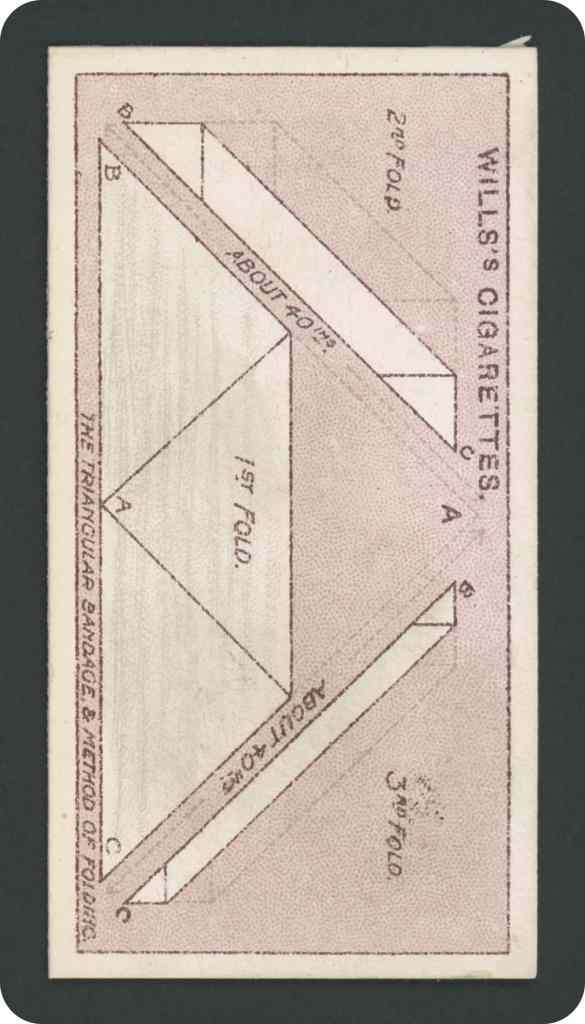
The regulation triangular bandage is made from a piece of linen or unbleached calico 36 (or 38 or 40) inches square, by folding it so as to form a triangle. The doubled base is cut by scissors, when two triangular bandages are made. A linen or bandana handkerchief, or a square piece of black silk. folded may serve in. stead. The bandage may be applied open or folded. To fold the bandage: Lay it down with point away from you; bring the point to middle of base (doubling it) ; double again, when a broad-fold bandage is made; double again, to make a narrow-fold bandage.
37
Triangular Bandage For Chest
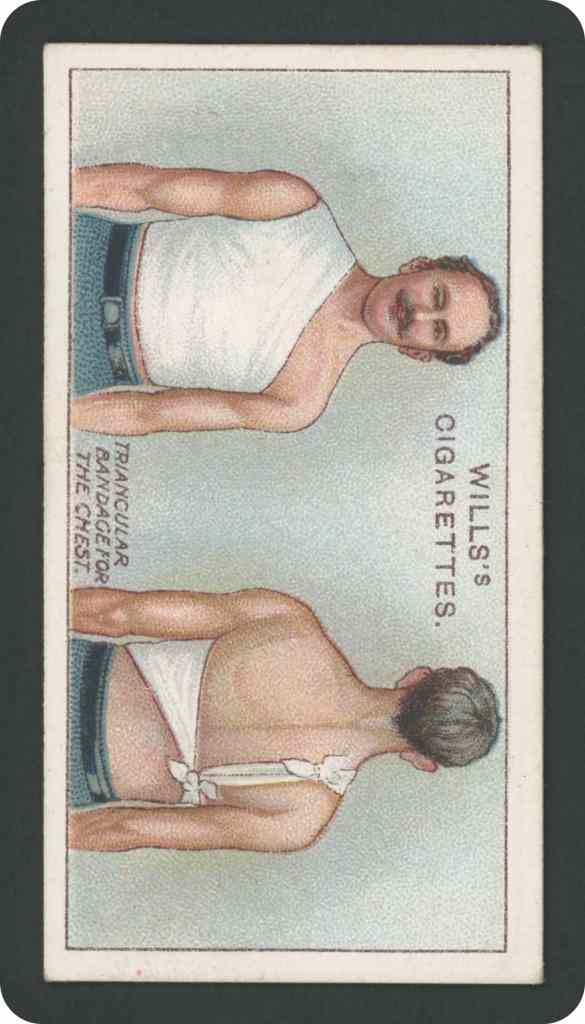
To retain a dressing (or poultice) upon the chest a triangular bandage may be applied as follows : Stand• ing in front of patient, place the point (or apex) of the bandage upon one shoulder (say the right); turn in the lower border (base) an inch or two; carry the ends round the body to the back; tie the ends below the right shoulder blade, when there will be a short and long end; carry the long end up over the right shoulder and tie to the apex. The back may in a similar manner be covered by a triangular bandage.
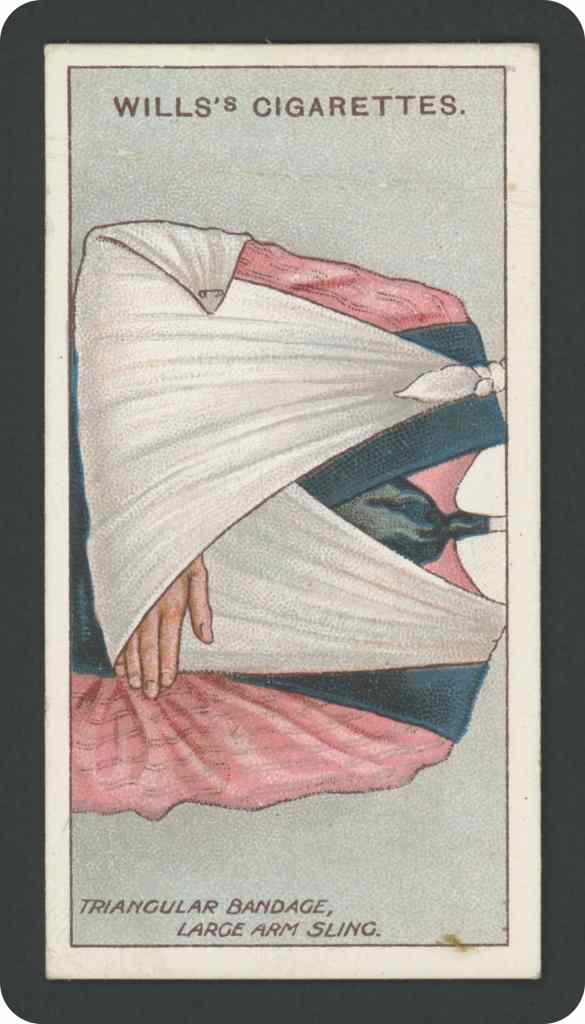
38
A Large Arm-Sling
To apply a triangular bandage as a sling to (say the right) arm:- Stand in front of patient, lay one end (corner) over the left shoulder, carrying the end behind the collar of the coat until it appears well forward on the right shoulder; tuck the point (apex) beneath the right elbow; bend the elbow at right angles; lay the forearm on the bandage; gather up the other (lower) end of band-age, carry it up over the forearm to the right shoulder and tie the ends in a reef-knot. Bring the point forwards.and pin it.
No Variations
No Error Cards Reported
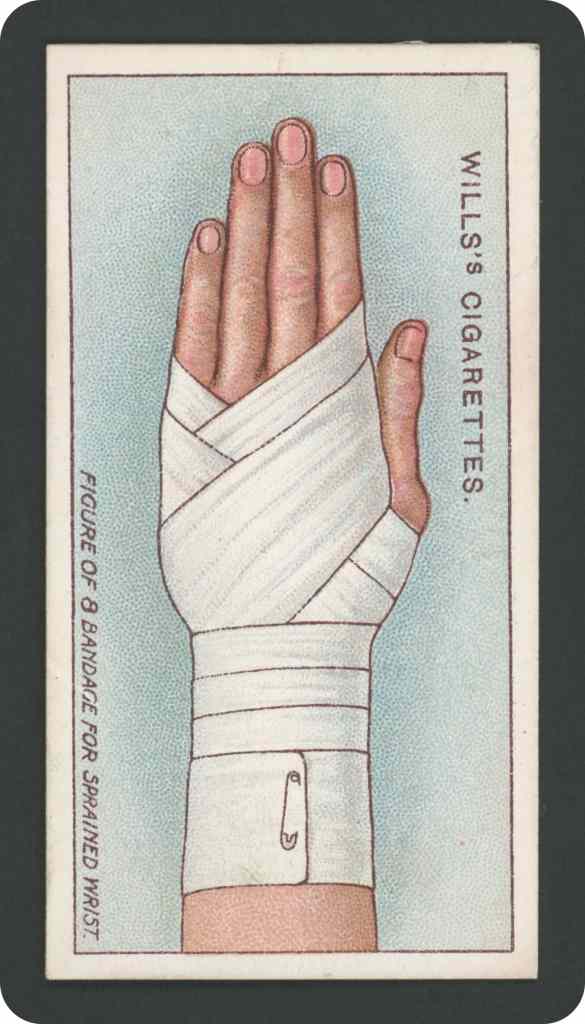
39
Bandage For Sprained Wrist
FIGURE-OF-8. Take a roller bandage 2.25 inches wide and 3 yards long: Commence by laying the end of the outside of the bandage on the back of the wrist; carry the bandage round the hand between the thumb and forefinger as high as the middle of the forefinger; then along the front of fingers, round the little finger, across the back of the hand to thumb side of wrist, round the wrist again, round hand and wrist two, three, or four times, and finally take three or four turns round the wrist. Each turn of bandage should expose one-third of the previous turn only.
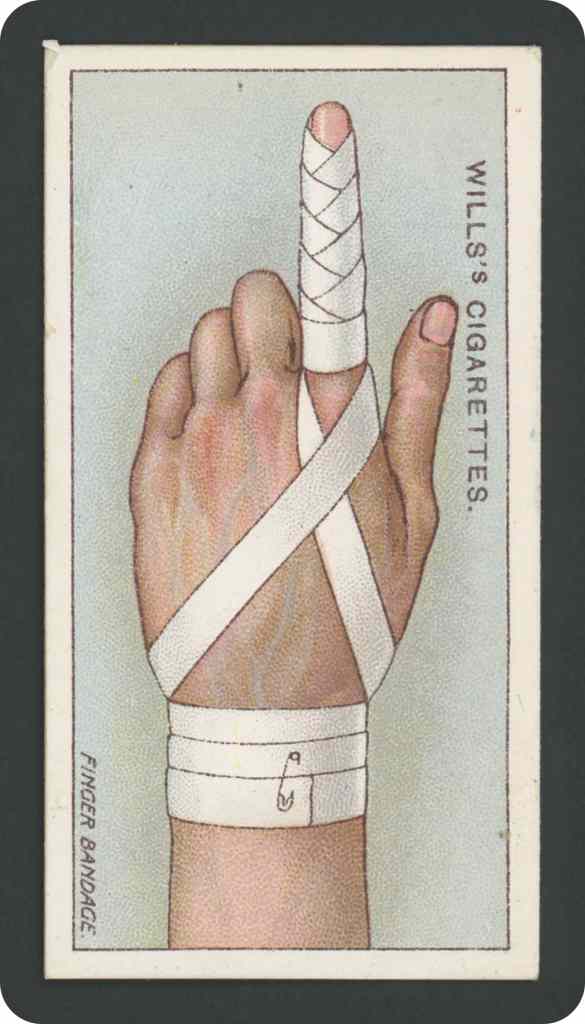
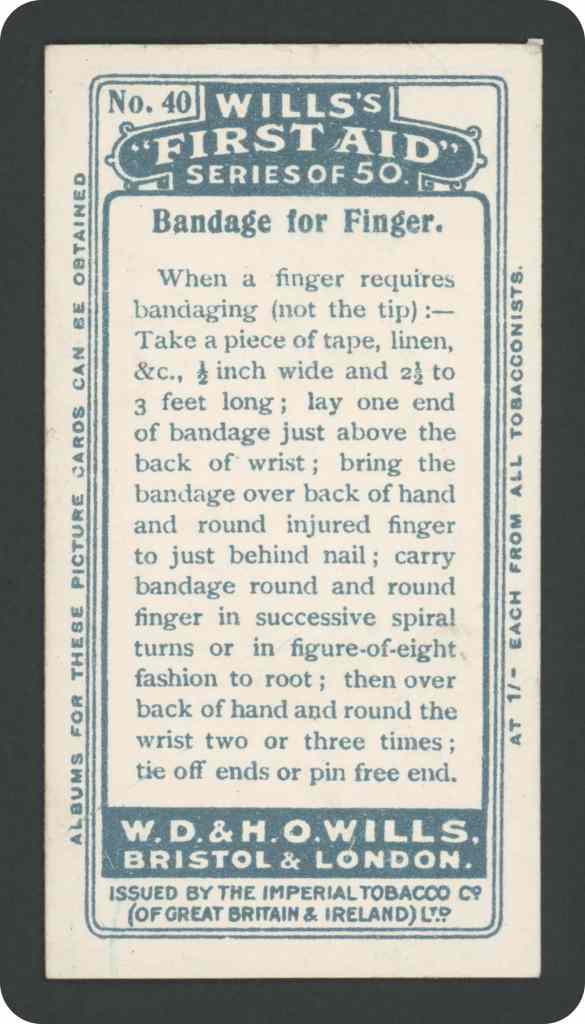
40
Bandage For Finger
When a finger requires bandaging (not the tip):-Take a piece of tape, linen, &c., 0.5 inch wide and 2.5 to 3 feet long; lay one end of bandage just above the back of wrist; bring the bandage over back of hand and round injured finger to just behind nail; carry bandage round and round finger in successive spiral turns or in figure-of-eight. fashion to root; then over back of hand and round the wrist two or three times; tie off ends or pin free end.
No Error Cards Reported
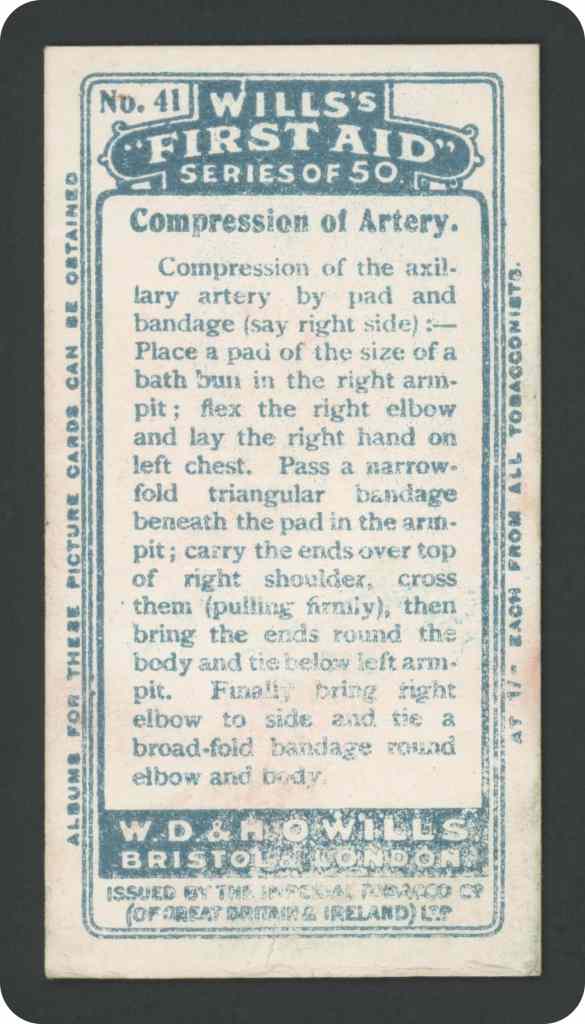
41
Compression Of Artery
Compression of the axillary artery by pad and bandage (say right side):- Place a pad of the size of a bath bun in the right armpit; flex the right elbow and lay the right hand on left chest. Pass a narrow fold triangular bandage beneath the pad in the armpit; carry the ends over top of right shoulder, cross them (pulling firmly), then bring the ends round the body and tie below left arm. pit. Finally bring right elbow to side and tie a broad-fold bandage round elbow and body.

42
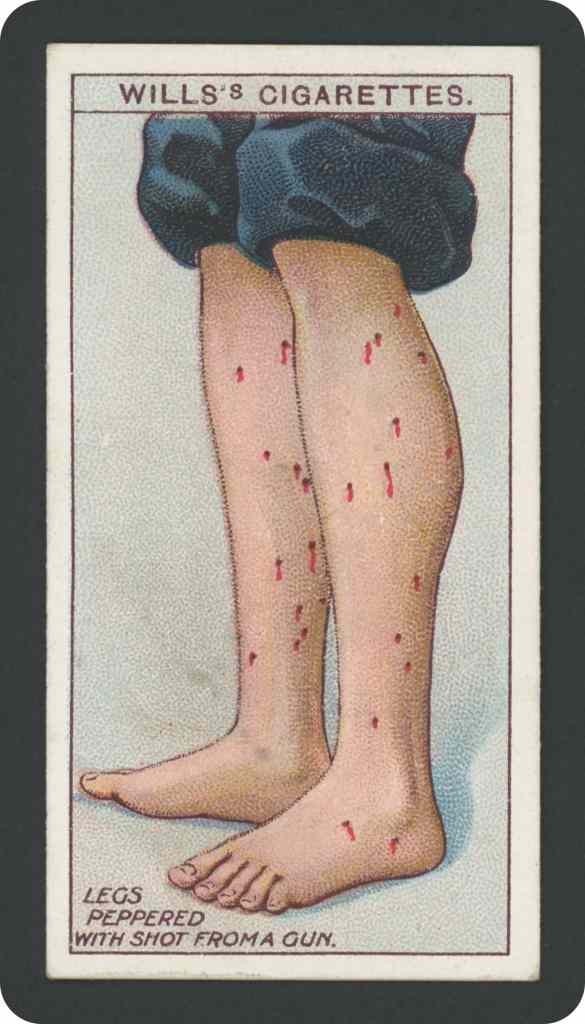
Shot In Leg
When the skin is “peppered” by shot from a shot gun, the pain is acute for a minute or two only. The injured person should not be allowed to walk if the pellets have buried themselves beneath the skin around the knee or ankle joints. Place the patient in bed; wrap the limbs in towels wrung out of cold or warm water; cover the wet towel by a dry one; renew the wet towel every four hours. Do not attempt to extract the pellets. If joints swell a doctor must be consulted.
43
Ring Pad-Scalp
When a scalp wound bleeds freely from several points, or when the wound is over a fracture of the skull, make a ring pad as follows: Fold a triangular bandage (or piece of linen or cotton) narrowly, carry the bandage round and round one hand to form a ring until near the free end, which is twisted round the ring. Lay the ring on the scalp with the wound in the centre. Keep up firm pressure by a bandage tied round the head.

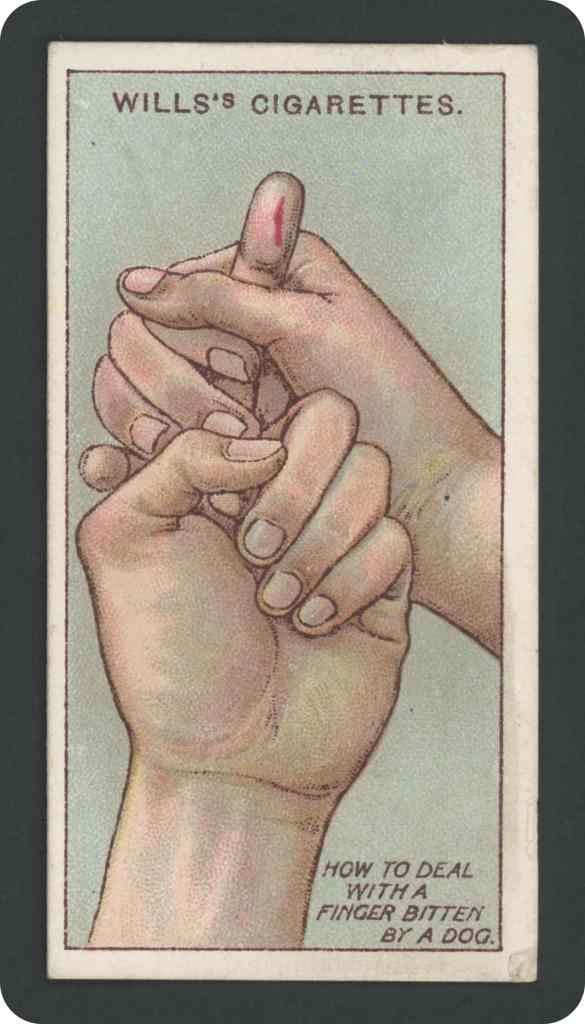
44
Bite Of Animal
For the bite of a dog, snake, or other animal, at once encircle the injured finger above the wound by forefinger and thumb of the other hand; suck the wound; wash it; squeeze it to make blood flow, but do not remove encircling fingers until a tape ornarrow piece of linen is tied round the root of the finger. Apply fluid caustic (caustic potash, pure carbolic, or other acid), or strong solu tion of permanganate of potash. Dip a wooden match in solution and press it into wound deeply.
45
Dislocated Shoulder
When a shoulder joint is dislocated the head of the arm bone (humerus) is carried, usually, forwards just below the collar bone. Signs and symptoms:-Pain; deformity; swelling in front and hollow behind; elbow is away from the side; the limb is fixed; and the patient usually supports the limb by the sound hand. Treatment: – (A) Out -of-doors: Tie the limb to the side in the position the patient finds comfortable. (B) Indoors: Remove cloth. ing (from sound shoulder first), lay patient down, and keep limb comfortable until doctor arrives. Apply cold or hot fomentations mean. tune.

46
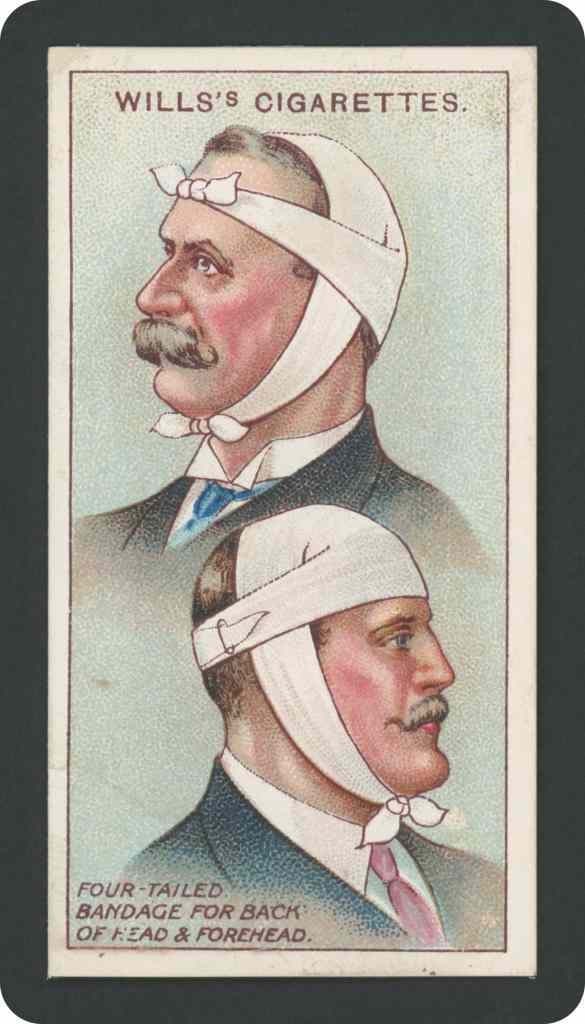
Four-Talled Bandage
A four – tailed bandage serves to retain dressings on the head and several other parts of the body :-Take a piece of calico or linen of suitable length and breadth, tear (or cut) the bandage from the middle of the ends until within 4 or 5 inches of the centre, leaving an untorn piece of 8 to to inches in the centre. After applying the dressing retain it by the bandage as in diagram.
47
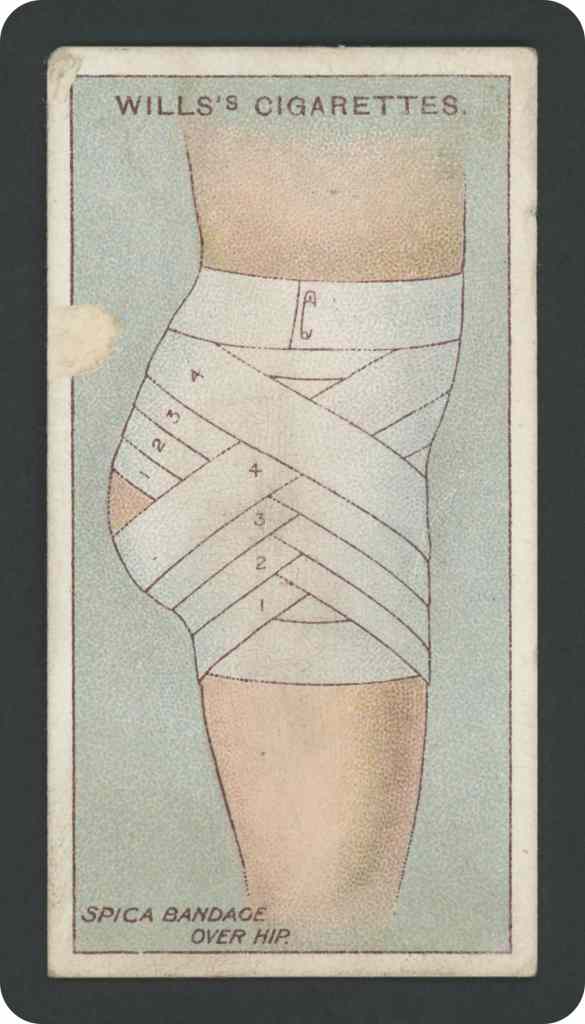
Spica Bandage For Hip
Use an unbleached calico bandage 3.5 inches wide and 6 yards long:-Commence by a couple of turns round upper part of thigh, carry the bandage round the front of the body, then round the back, down the inner side of thigh and up the back of the hip and round the body again; repeat these turns until the part is covered. End off’by one or two turns round the body.
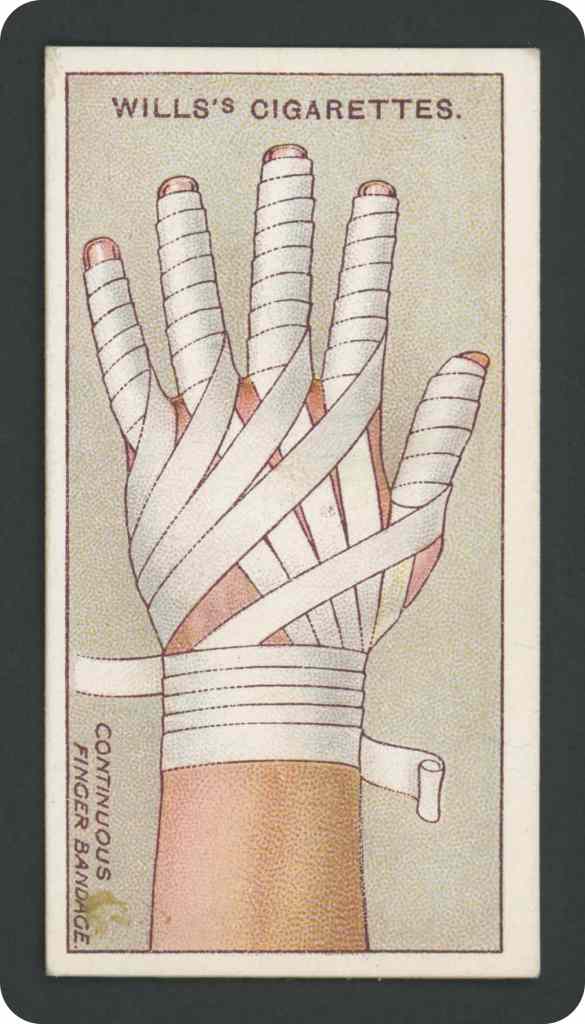
48
Continous Finger Bandage
To prevent swelling of the fingers after injuries to the shoulder, arm or fore-arm, or to retain a dressing for scalds or injuries: Take a piece of tape or linen 0.5 to 0.66 inch wide and several yards long; carry the bandage round the wrist, then over the back of the hand to the inner side oflittle finger, and apply the bandage from level of nail to root; the bandage is then brought over the back of the hand again, carried round the wrist, and each finger bandaged in succes-sion. The ends are tied on the back of the wrist.
49
To Extract Fish-Hook
When the barb of a hook is buried beneath the skin, do not attempt to withdraw the hook by pulling it backwards along the path of entrance, but, instead, proceed as follows: Cut the thread binding the line to the shaft of the hook, so that the line and hook are separated. If the hook has an eye it is necessary to cut the hook below the eye with wire cutting pliers. Wipe the shaft of the hook clean and apply vaseline or lard to it, grasp the shaft of the hook and push it onwards until the barb protrudes through the skin; seize the hook by its barbed end, when the shaft is readily pulled through.


50
Finger Bandage
To cover the point of a finger after applying a dressing :- Take a bandage 1 inch wide and I yard long; carry round the wrist, then up back of hand to finger tip; carry the bandage backwards and forwards over the tip, holding the folds between the finger and thumb until, when completely covered, the bandage is carried round the finger to secure the folds; then along the finger to the root, round the wrist and tied.


Leave a comment